Anaconda: A Comprehensive Guide
Anaconda is an open-source distribution for Python and R, primarily used in data science, machine learning, and scientific computing. It simplifies package management, environment management, and provides a suite of tools for working on data science projects.
1. Anaconda Installation
To get started with Anaconda, you need to first install it on your system.
Steps to Install Anaconda:
-
Download Anaconda
Visit Anaconda's download page and download the appropriate version for your operating system. -
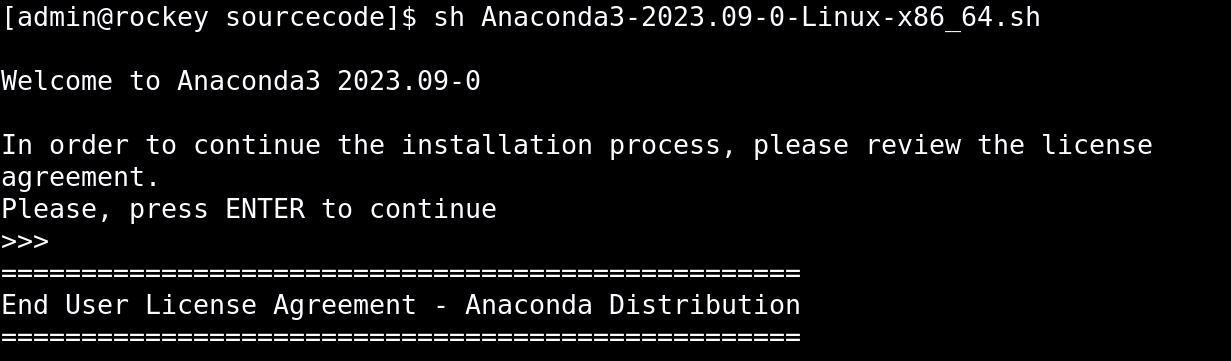
Run the Installer
Move the downloaded file to your directory and run the installer. For Linux, the command is:
bash Anaconda3-2024.10-1-Linux-x86_64.sh
-
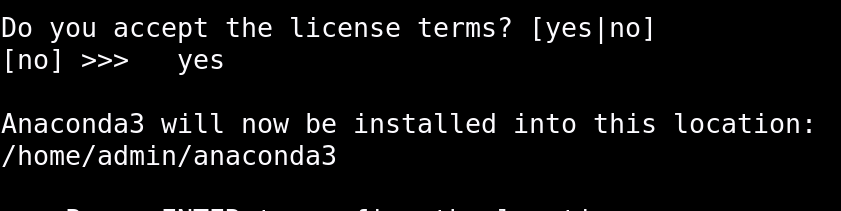
Accept the License Type
yesto accept the license agreement. -
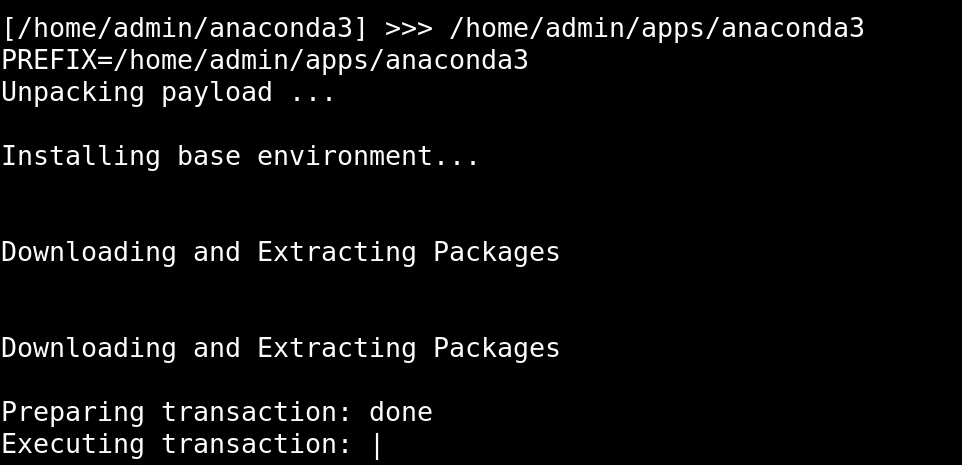
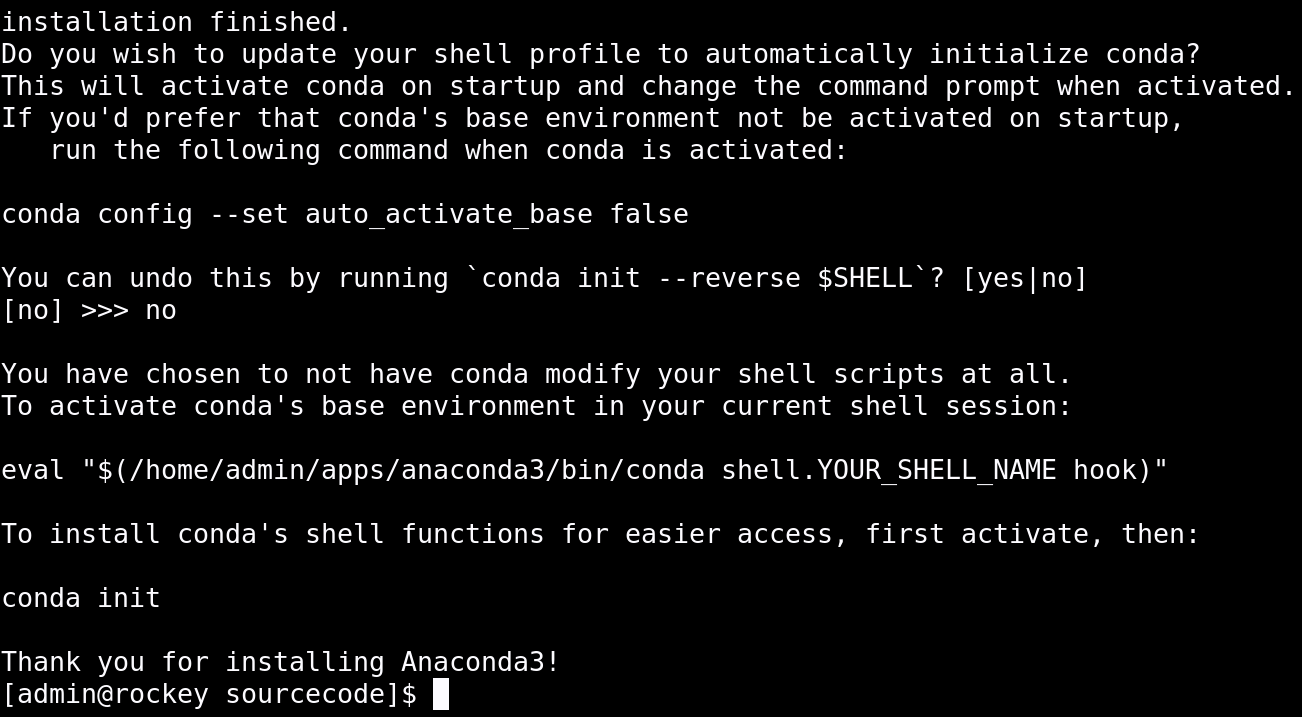
Complete the Installation Once installed, exit the terminal and log out to initialize the base environment.
2. Activating and Deactivating Environments
Activating an Environment:
To work within a specific environment, you need to activate it:
conda activate <env_name>
Example:
conda activate base

Deactivating an Environment:
Once done, you can deactivate the environment:
conda deactivate

3. Checking Existing Environments
To see a list of all existing environments on your system:
conda env list
Or:
conda info --envs
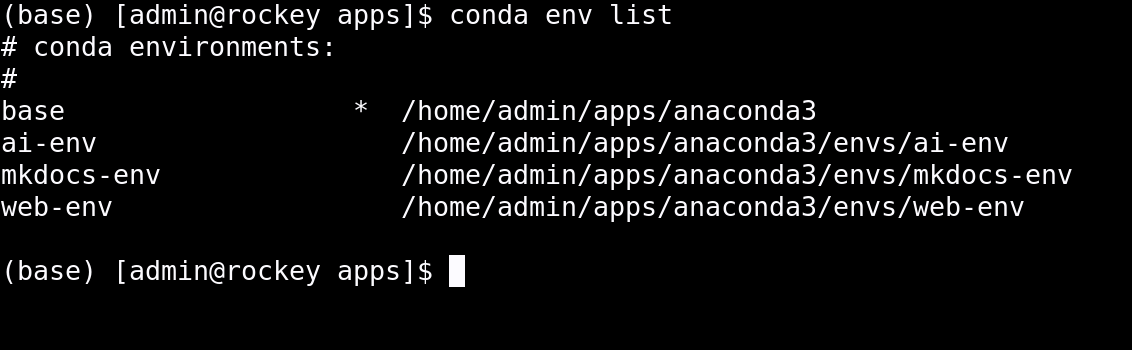 This will show all environments along with their paths.
4. Creating New Environments
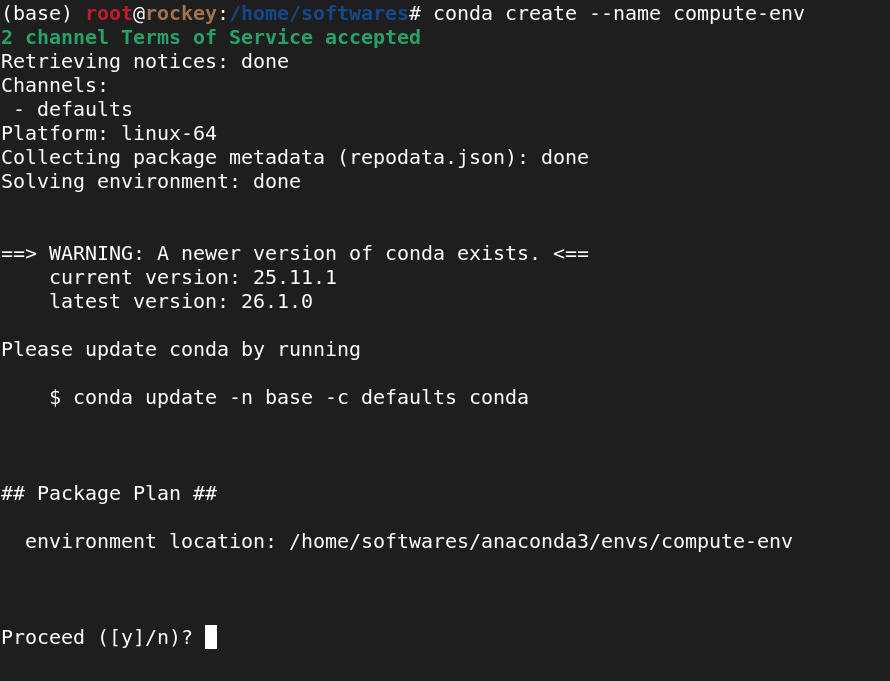
Creating an Environment (With Internet Access):
To create a new environment called env_conda, use the following command:
conda create --name env_conda
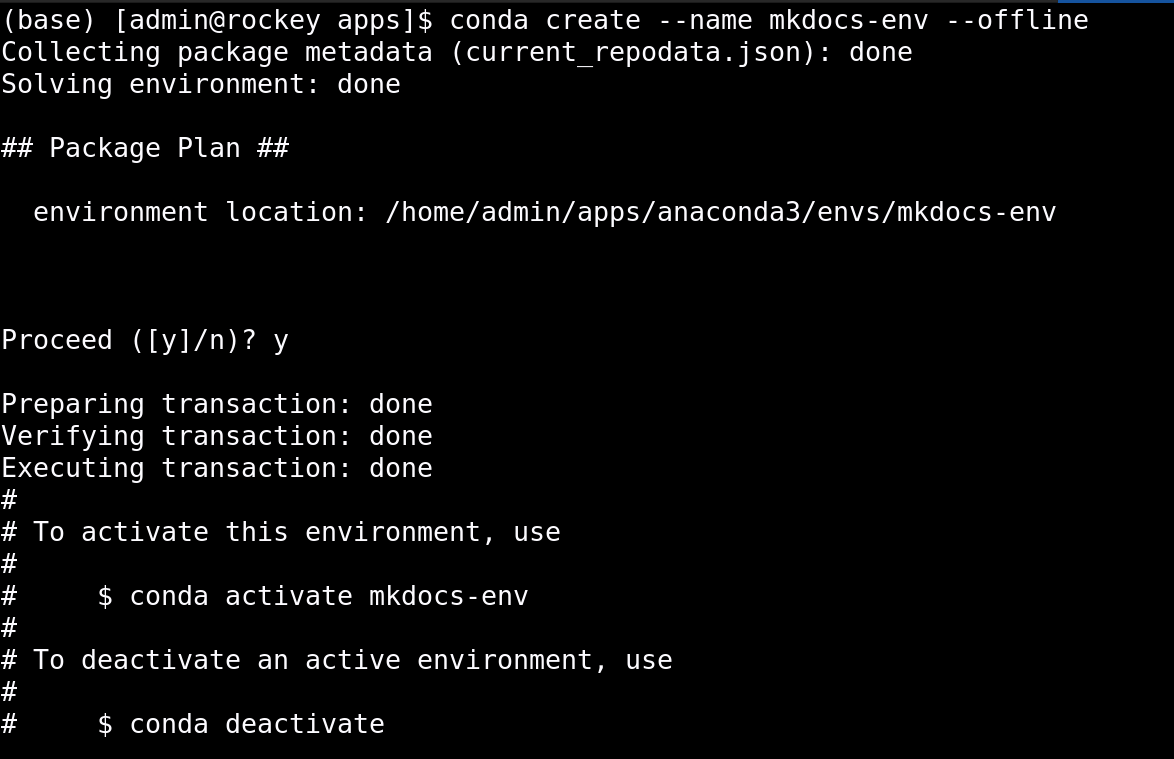
Creating an Environment (Without Internet Access):
If you're working in an offline environment and need to install packages from previously downloaded files, you can create an environment without needing internet access:
conda create --name env_conda --offline

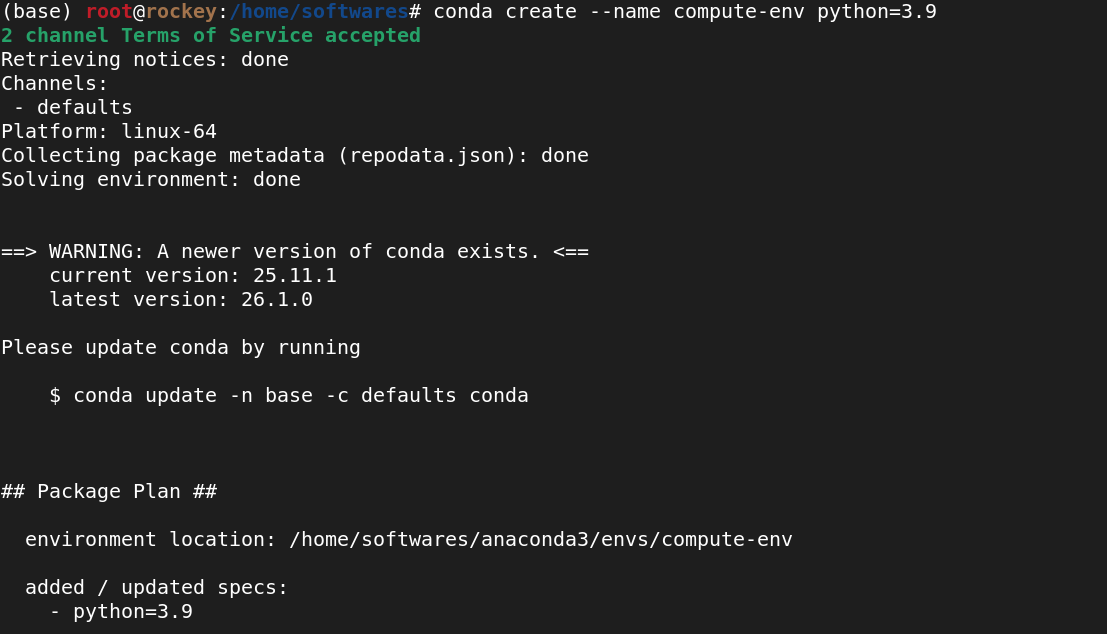
5. Creating an Environment with a Specific Python Version Using internet
To create an environment with a specific version of Python (for example, Python 3.9):
conda create --name compute-env python=3.9
For conformation check the Python version in newly creating env

To create an environment with a specific version of Python (for example, Python 3.11):
conda create --name ai-env python=3.11 --offline
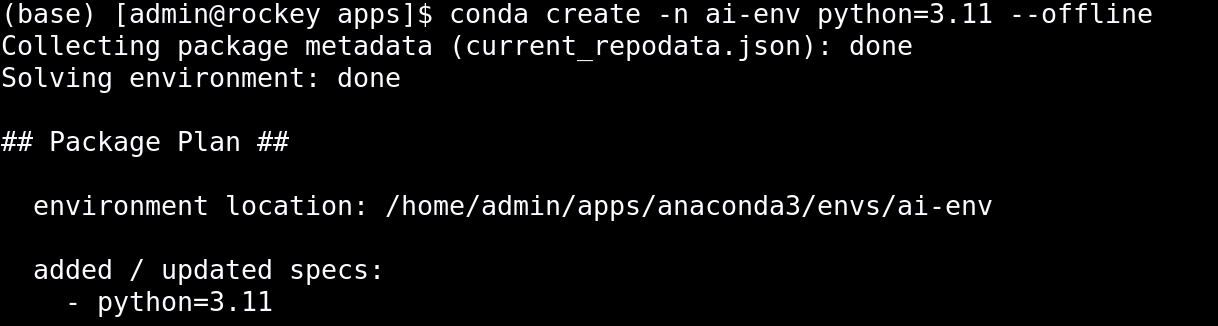
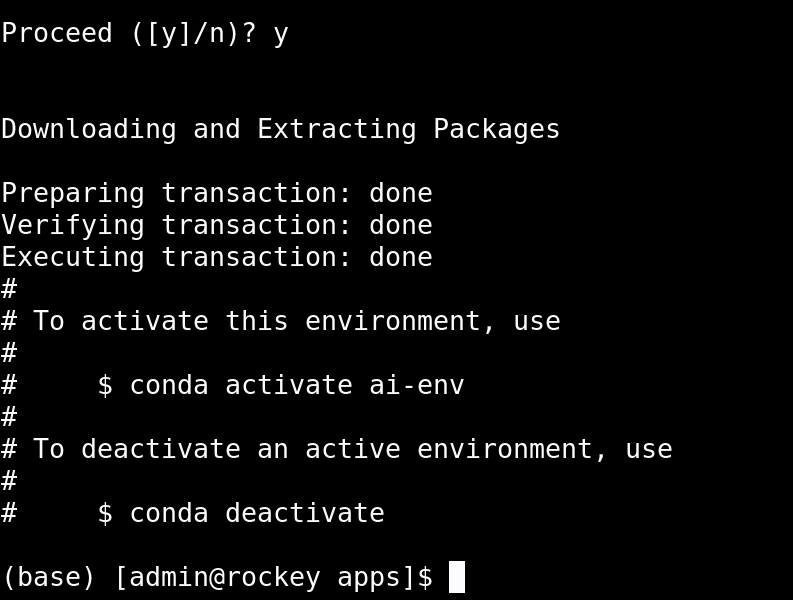 For conformation check the Python version in newly creating env
 

6. Cloning an Environment
If you want to clone an existing environment into a new one:
conda create --name <new_env_name> --clone <existing_env_name>
Example:
conda create --name web-env --clone ai-env
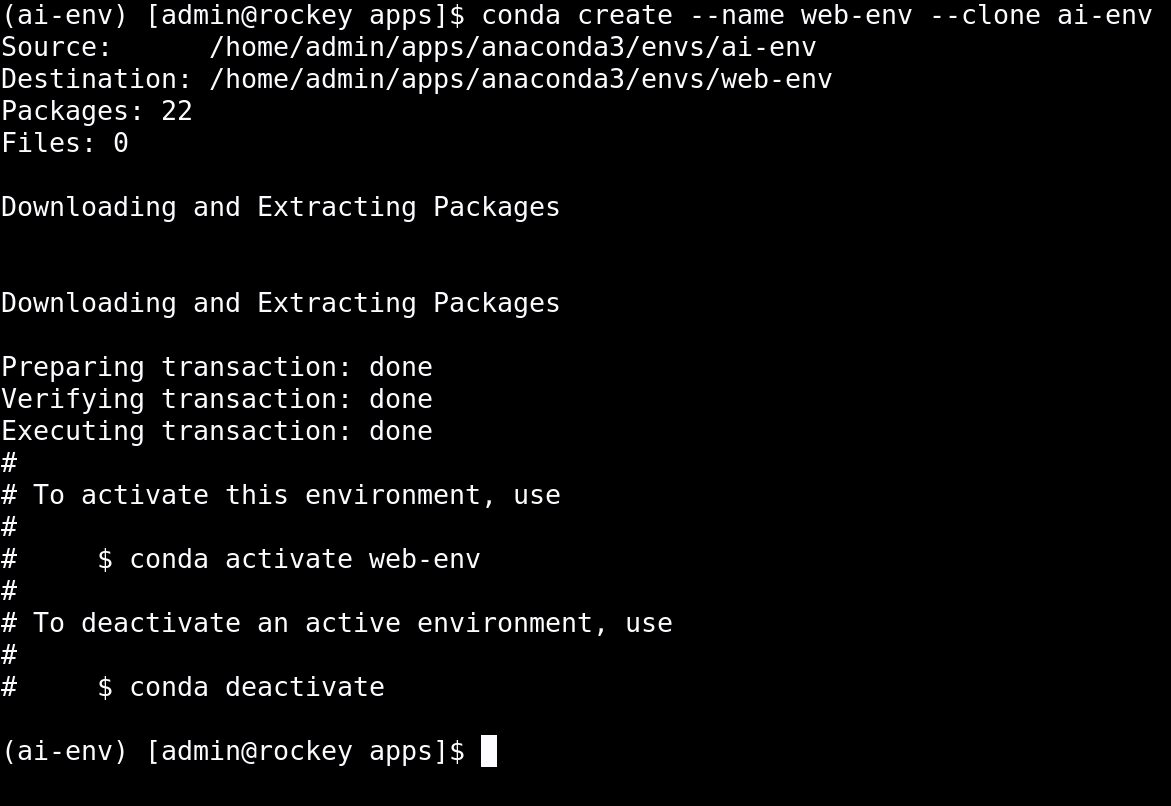
This will create an exact copy of the environment, including all installed packages.
7. Removing an Environment and Its Packages
Removing Specific Packages from an Environment:
To remove a specific package from an environment, use:
Activate the env
pip uninstall <package_name>
Example:
pip uninstall pandas
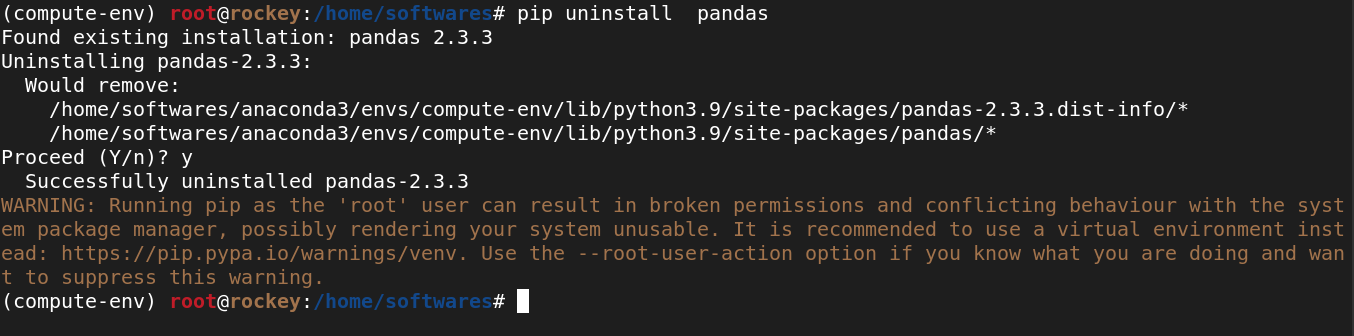
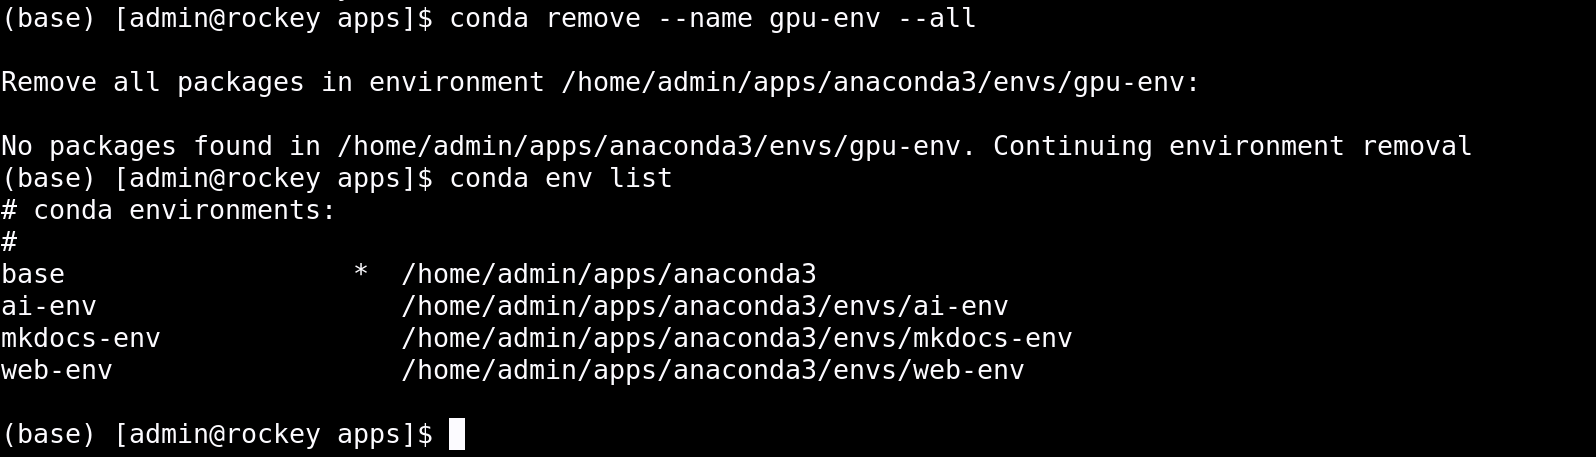
Removing the Entire Environment:
To remove an environment along with all its data and packages:
conda remove --name <env_name> --all
This will delete the environment env_conda and all installed packages within it.
8. Quick Reference: Conda Commands
| Task | Command | Example |
|---|---|---|
| Activate environment | conda activate <env> |
conda activate py39env |
| Deactivate environment | conda deactivate |
conda deactivate |
| Create environment | conda create --name <env> |
conda create --name env_conda |
| Create with Python version | conda create --name <env> python=3.x |
conda create --name py39env python=3.9 |
| Clone environment | conda create --name <new> --clone <existing> |
conda create --name cloneenv --clone py39env |
| Delete environment | conda remove --name <env> --all |
conda remove --name env_conda --all |
| Install package | conda install -n <env> <package> |
conda install -n py39env pandas |
| Remove package | conda remove -n <env> <package> |
conda remove -n py39env pandas |