GCC (GNU Compiler Collection) Installation Guide
Note:
This installation guide is intended for self-learning and skill improvement only. The installation is performed on a personal computer and is not suitable for cluster-level installations. It is meant for reference purposes only and should not be used in production or large-scale environments.
What is GCC?
The GNU Compiler Collection (GCC) is a collection of compilers for various programming languages, including C, C++, and Fortran. It is one of the most widely used compilers for open-source and commercial software development. GCC relies on various libraries like MPFR, MPC, and GMP to ensure precision during compilation and computation.
Why is GCC Needed?
GCC is needed for:
- Compiling Programs: GCC compiles code for multiple programming languages.
- Cross-Platform Compilation: GCC works across different platforms and supports a wide range of architectures.
- Highly Optimized: GCC provides highly optimized code that is critical for performance in large-scale software projects.
- Dependencies: GCC relies on MPFR, MPC, and GMP for arbitrary precision arithmetic needed for accurate calculations during the compilation process.
Installation Steps
Step 1: Download the Source Code
Download the GCC source code manually from the official website: GCC Official Website.
Make sure to download the .tar.xz file for the desired version (e.g., gcc-<version>.tar.xz).
Step 2: Transfer the Source Code to the Offline Machine
Once the source code is downloaded, transfer the .tar.xz file to your offline machine. You can use any method of file transfer (e.g., USB drive, external hard drive).
Step 3: Extract the GCC Source Code
On your offline machine, extract the GCC source code using the following command:
tar -xf gcc-<version>.tar.xz
After extracting the files, use the ls command to check if the extraction was successful and if the gcc-<version> directory is created:
ls
You should see the extracted gcc-<version> directory.
- Directory Listing after Extraction:

Step 4: Install MPFR, MPC, and GMP
Before proceeding with the GCC installation, you need to install the following libraries as dependencies:
- MPFR Installation Guide - The library required for multiple precision floating-point arithmetic.
- MPC Installation Guide - The library required for multiple precision complex number calculations.
- GMP Installation Guide - The library required for arbitrary precision arithmetic for integers.
Ensure that these libraries are installed correctly and that their paths are noted for the GCC configuration step.
Step 5: Set Environment Variables for Dependencies
You can set the environment variables for MPFR, MPC, and GMP to ensure GCC can find them during installation. Use the following commands:
export GMP_DIR=/path/to/gmp
export MPFR_DIR=/path/to/mpfr
export MPC_DIR=/path/to/mpc
export PATH=$GMP_DIR/bin:$MPFR_DIR/bin:$MPC_DIR/bin:$PATH
export LD_LIBRARY_PATH=$GMP_DIR/lib:$MPFR_DIR/lib:$MPC_DIR/lib:$LD_LIBRARY_PATH
export C_INCLUDE_PATH=$GMP_DIR/include:$MPFR_DIR/include:$MPC_DIR/include:$C_INCLUDE_PATH
Replace /path/to/gmp, /path/to/mpfr, and /path/to/mpc with the paths where GMP, MPFR, and MPC are installed.
Step 6: Run the ./configure Script
Navigate into the GCC directory:
cd gcc-<version>
Run the configure script to prepare the build environment. First, check available configuration options by running:
./configure --help
This will display the configuration options. The key options here will be the --with-gmp, --with-mpfr, and --with-mpc flags to ensure these libraries are correctly linked during the build process.
configure --help: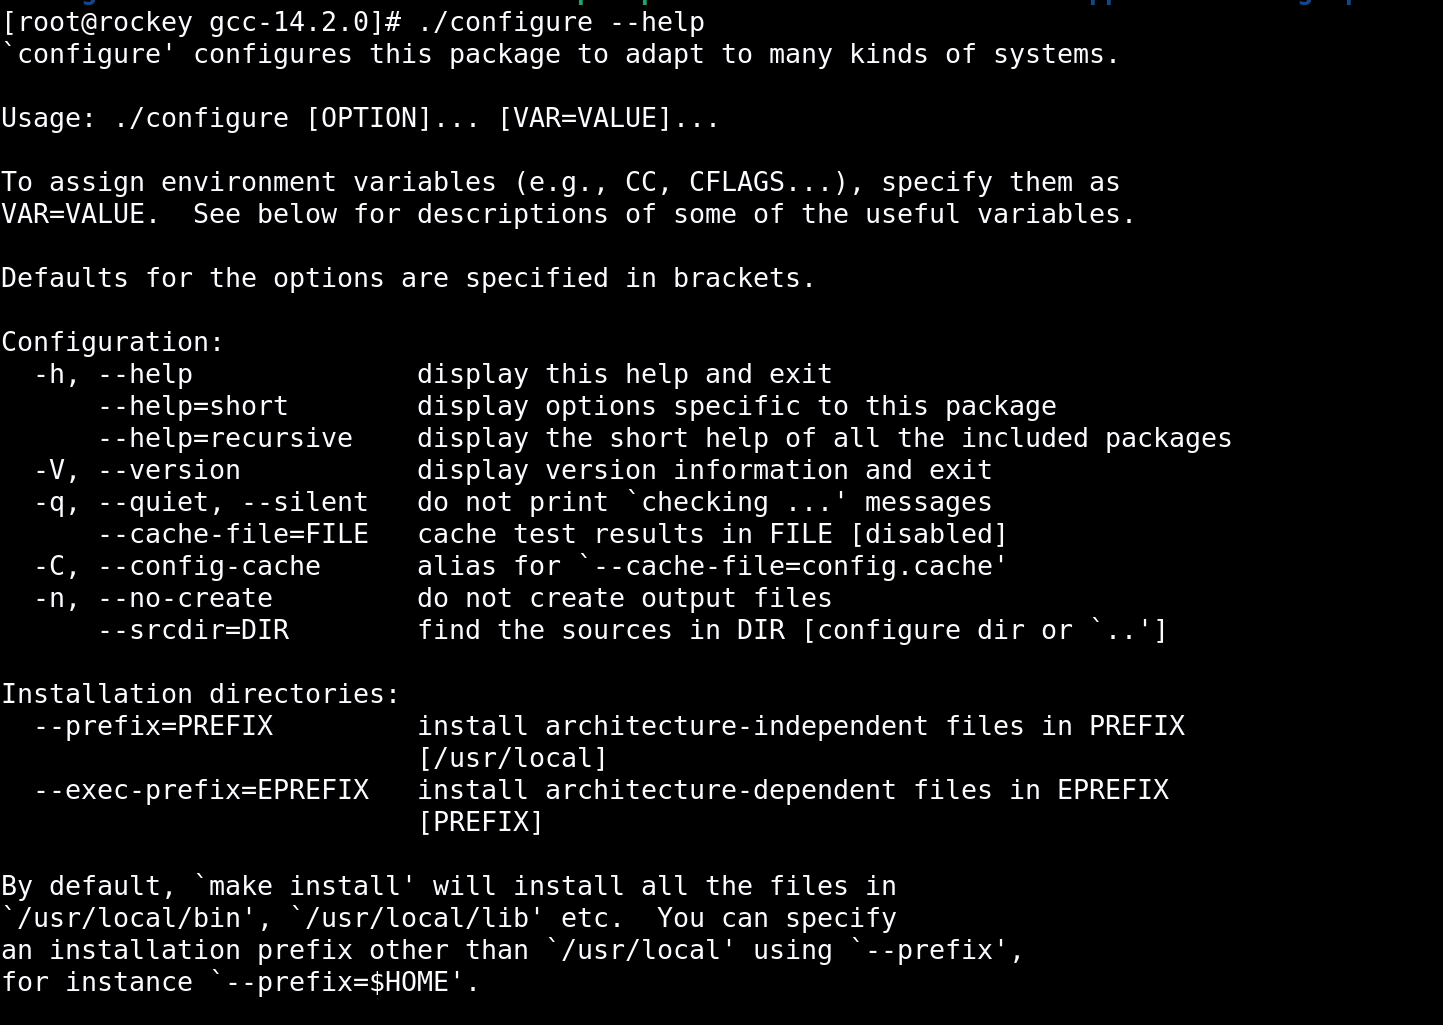
Run the configure script with the following flags:
./configure --prefix=/path/to/install --with-gmp=/path/to/gmp --with-mpfr=/path/to/mpfr --with-mpc=/path/to/mpc
Replace /path/to/gmp, /path/to/mpfr, /path/to/mpc, and /path/to/install with the correct paths.
-
configurewith Flags: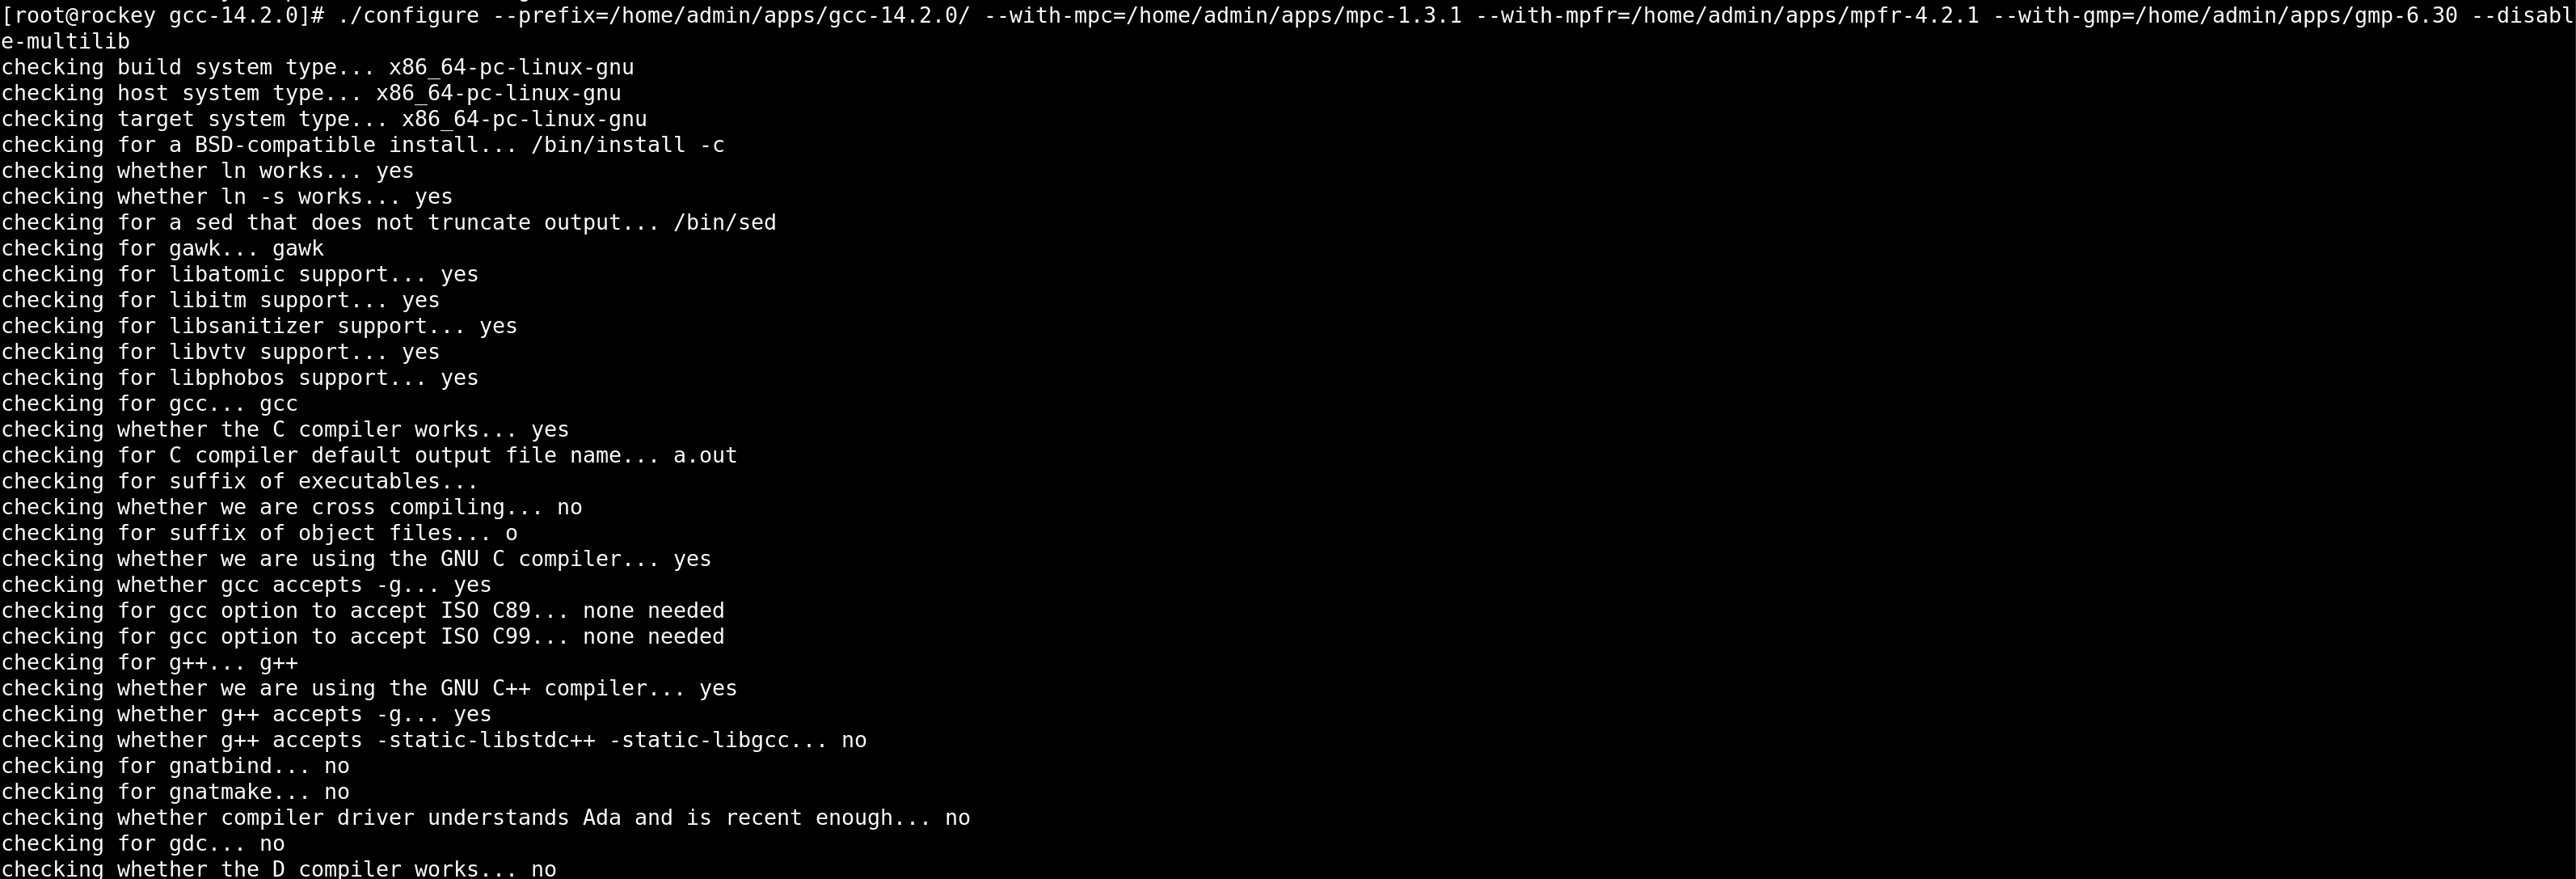
-
Successful
configureExecution: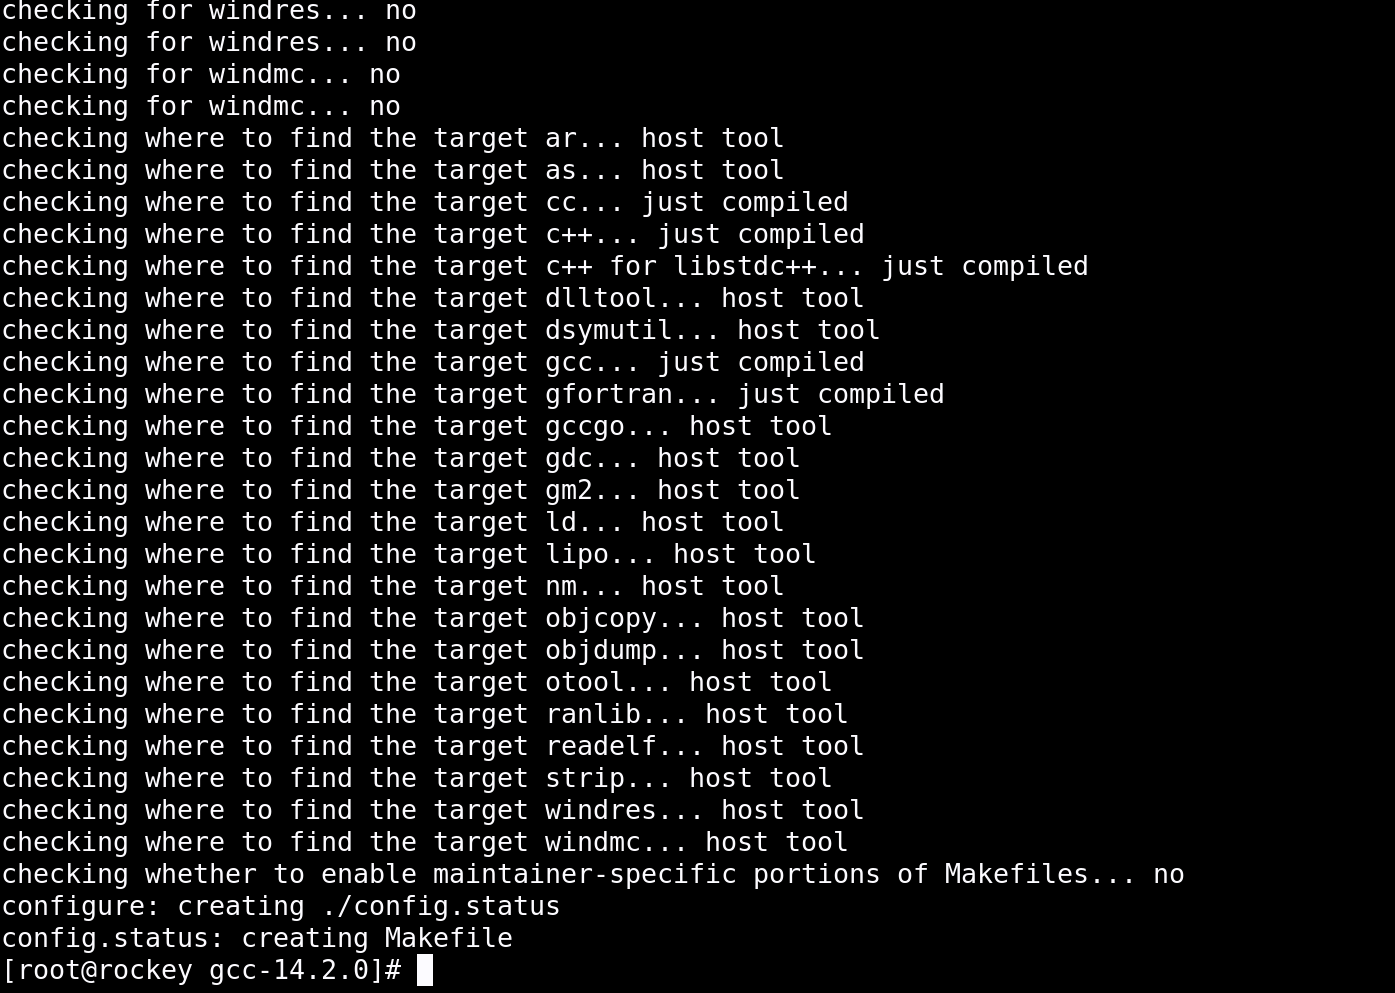
Step 7: Compile the Code
After configuring GCC, compile it using the make command. The -j flag can be used to speed up the compilation process by utilizing multiple CPU cores. Use the following command:
make -j
The -j flag speeds up the process by using multiple cores. You can adjust the number of cores based on your system’s capabilities (e.g., -j4 for four cores).
-
Running the
make -jCommand: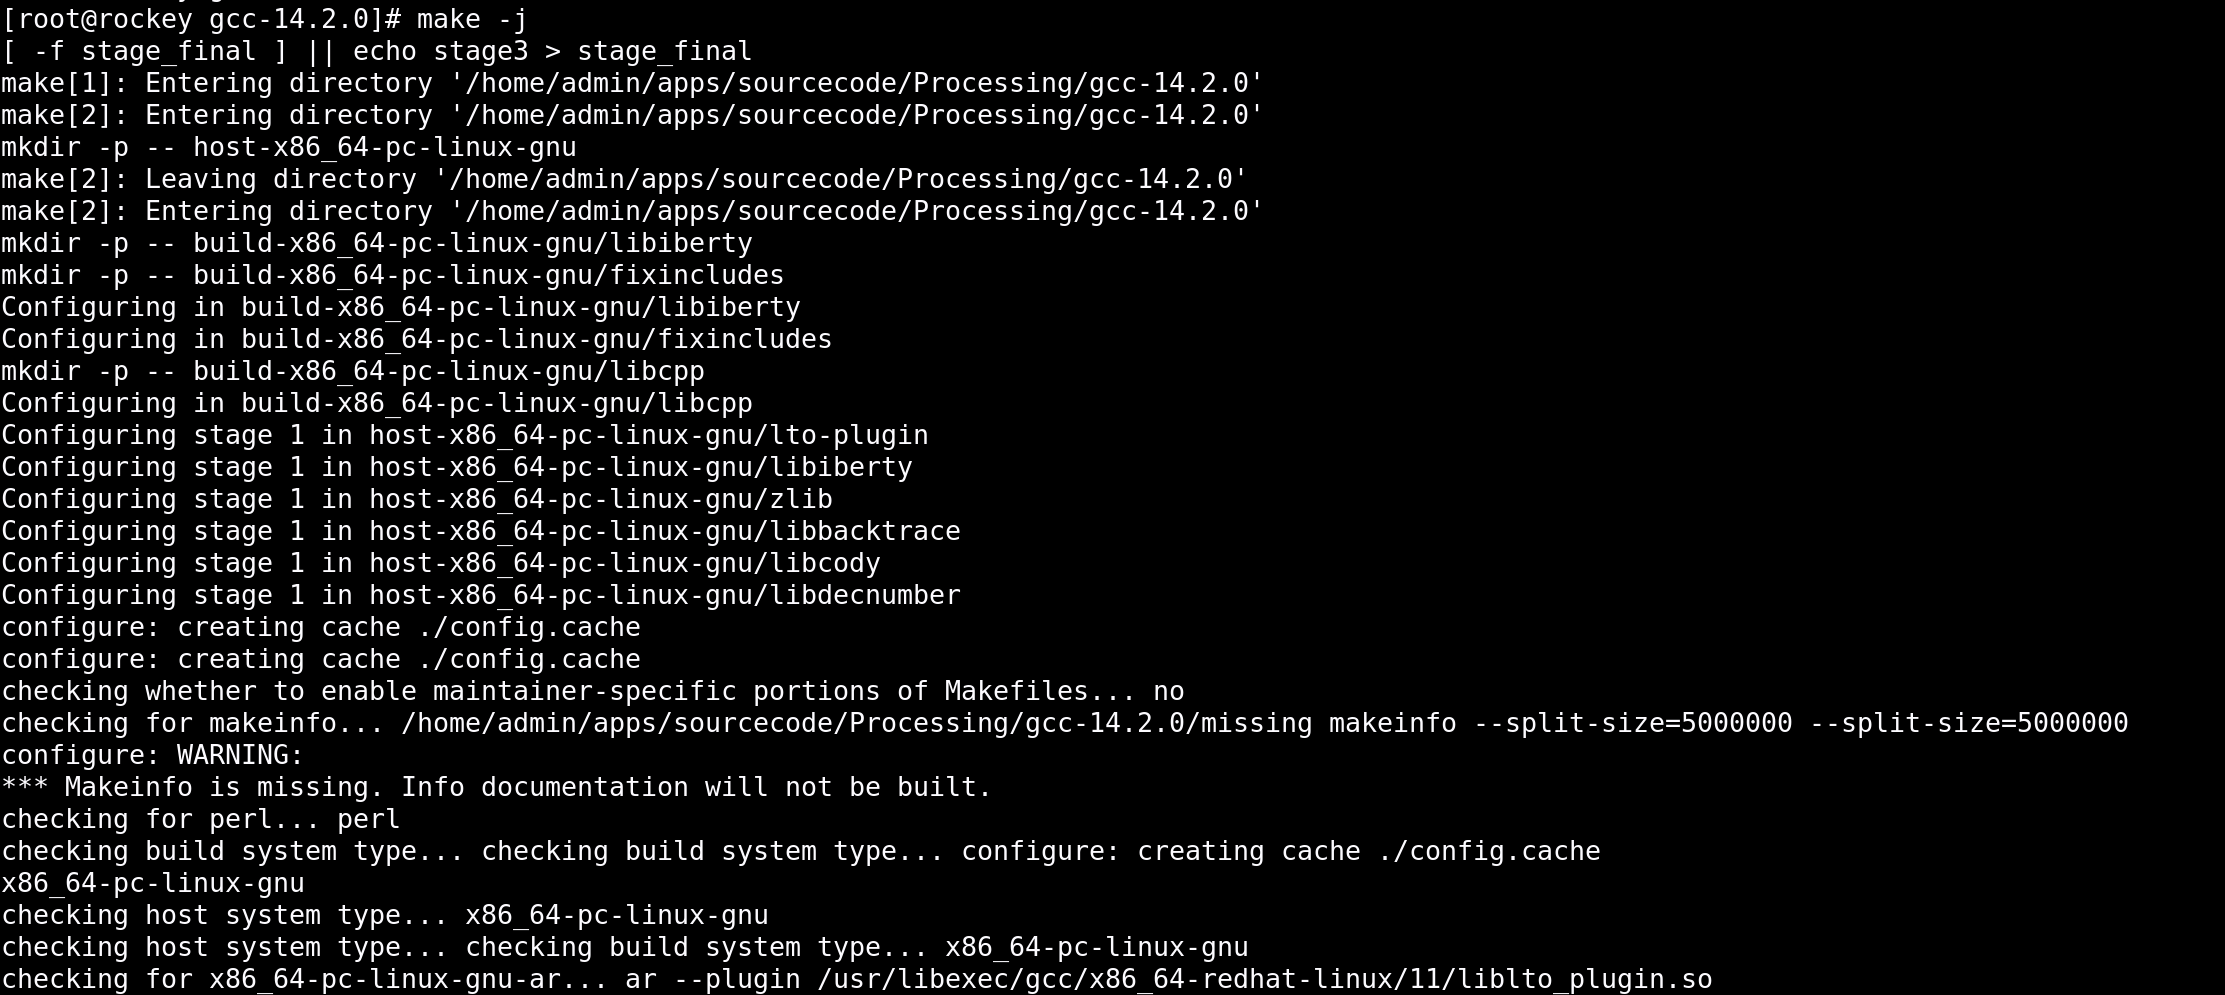
-
Completion of the
make -jProcess: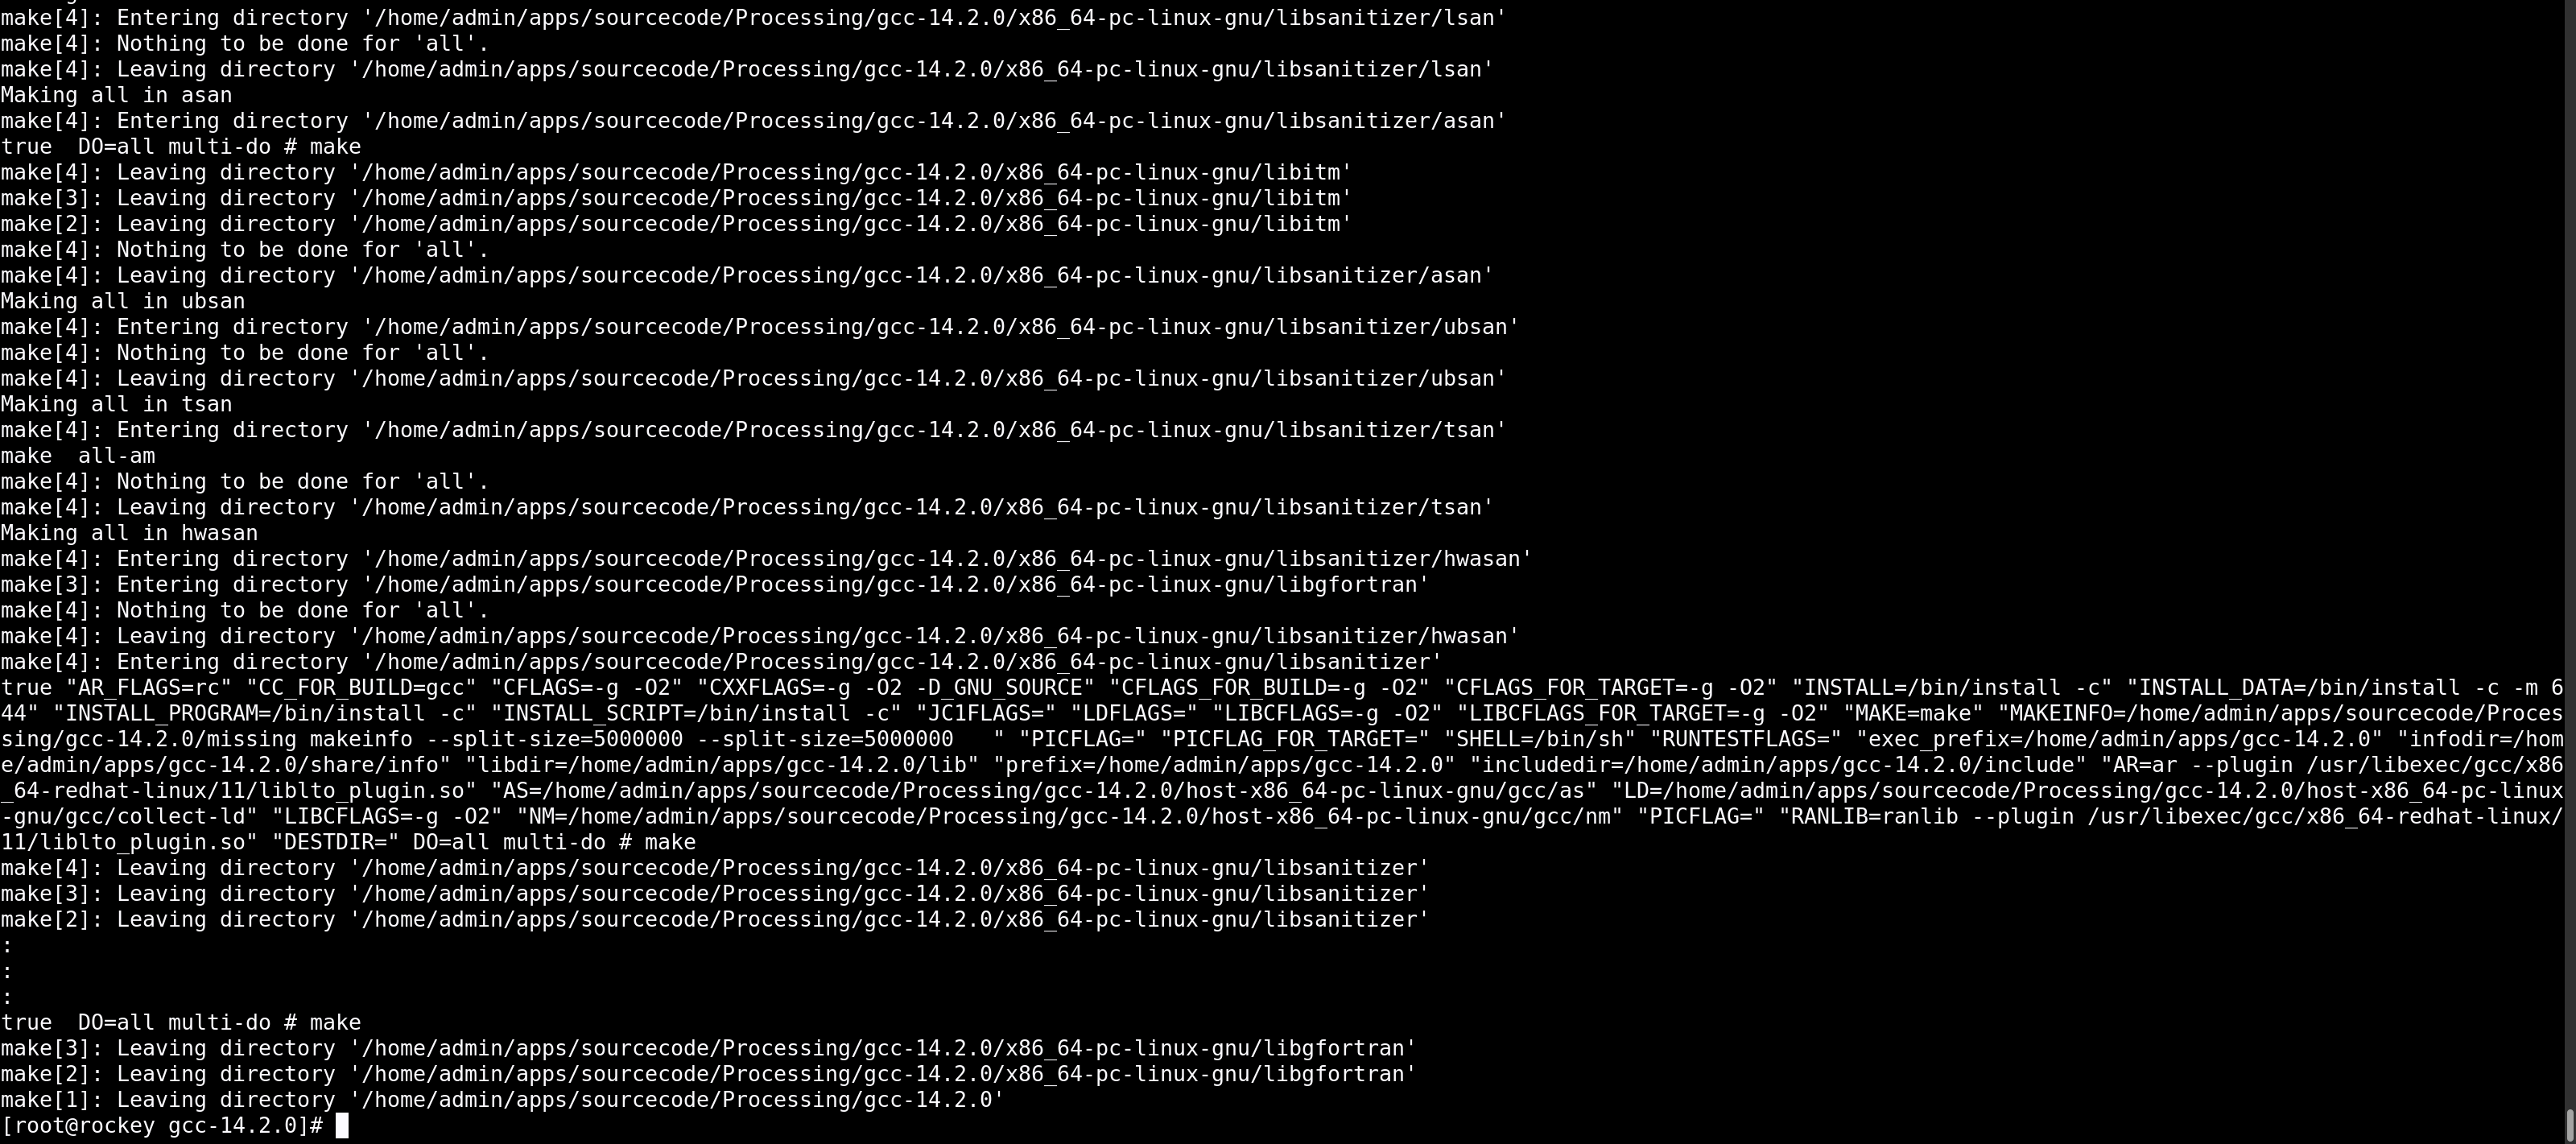
Step 8: Install GCC
Once the compilation is complete, install GCC using:
sudo make install
This command installs GCC into the directory specified by the --prefix option during the configuration process.
-
Running
make install: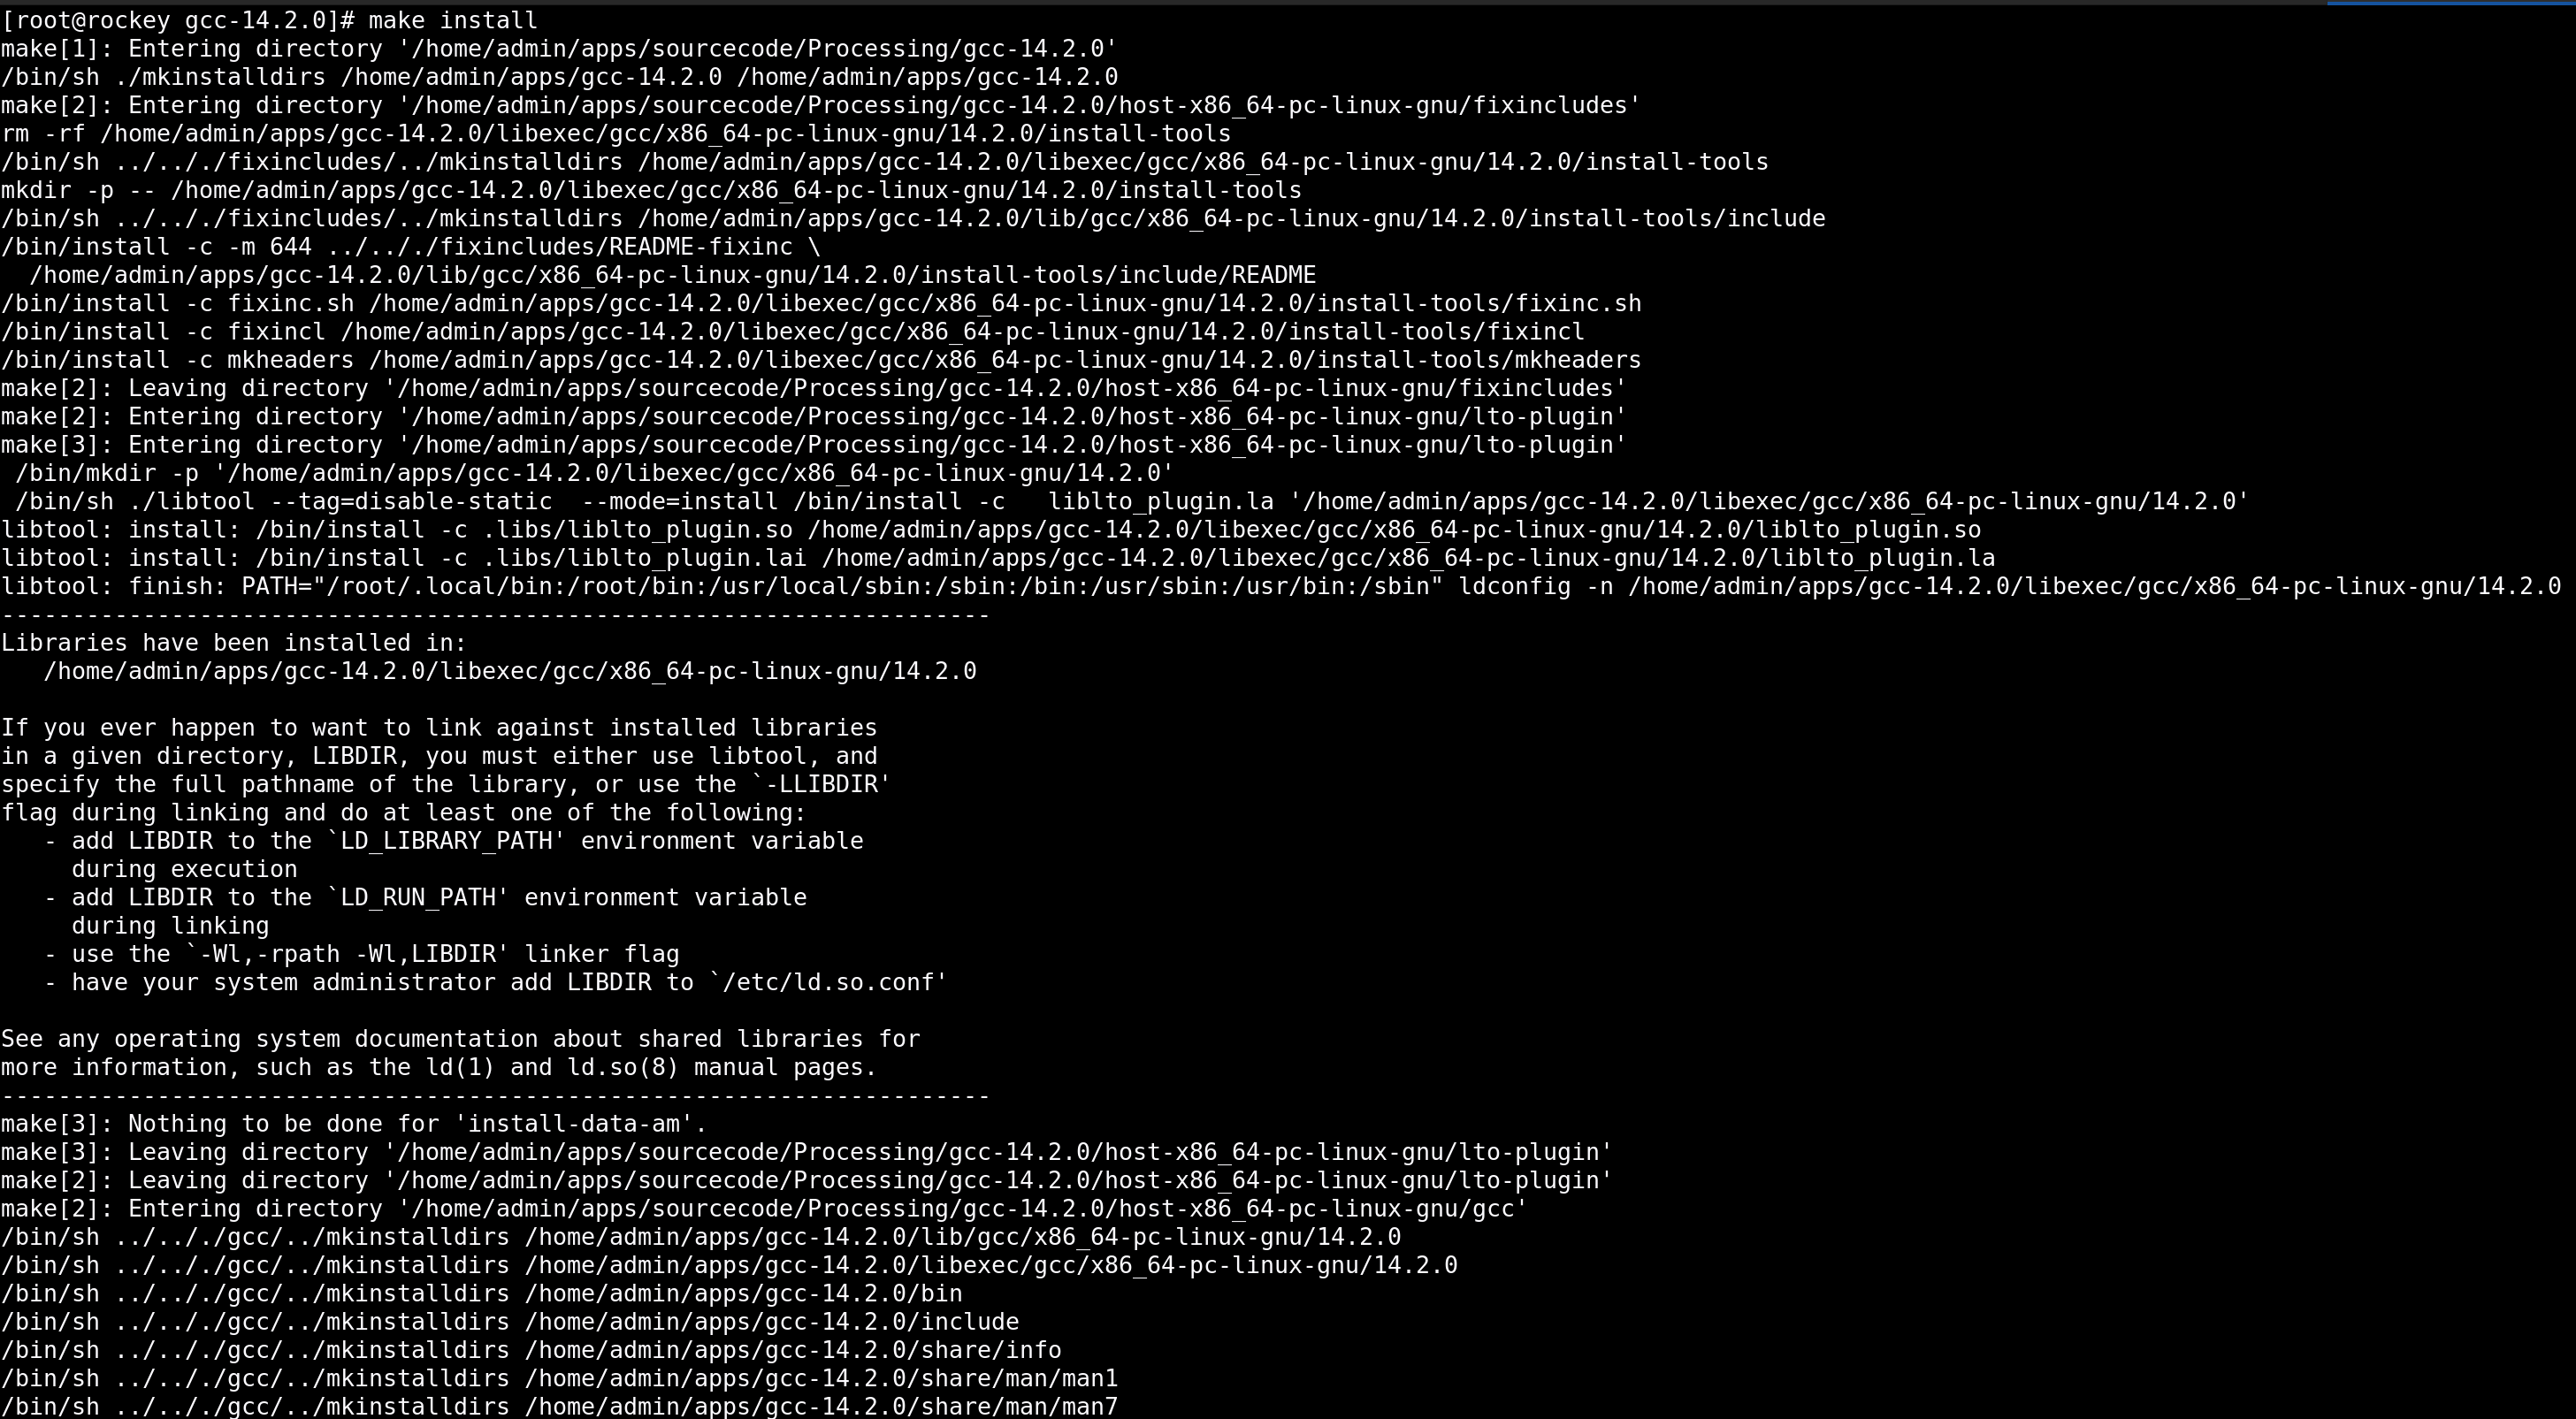
-
Installation Complete:
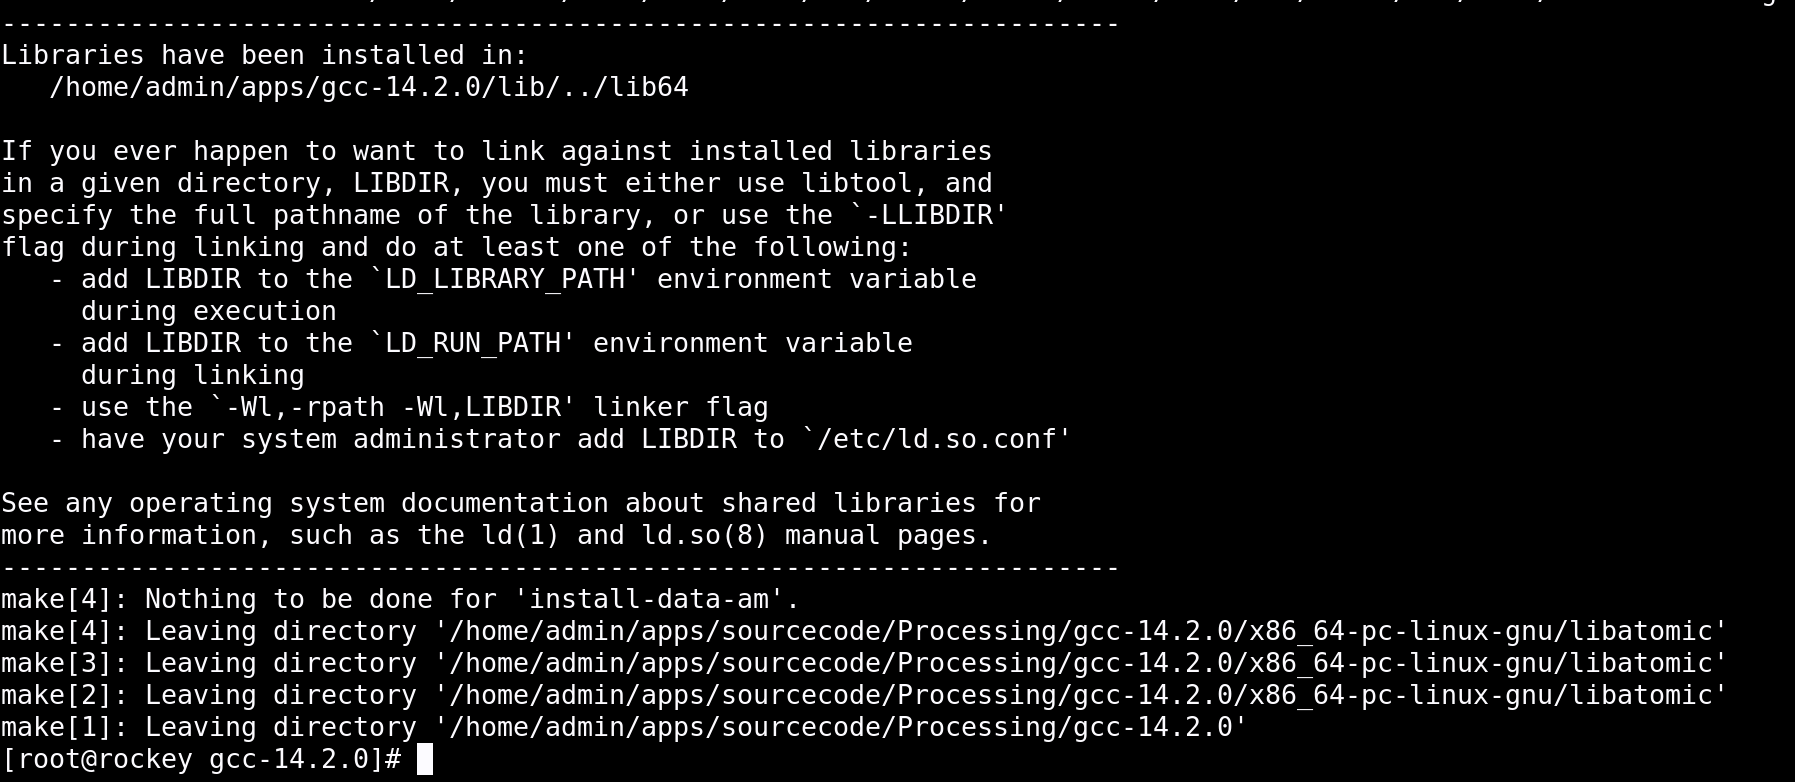
Step 9: Verify Installation
After the installation is complete, verify that GCC has been installed correctly by checking the contents of the installation directory:
ls /path/to/install/bin
You should see the necessary GCC binaries in the bin directory.
- Final Installation Check:
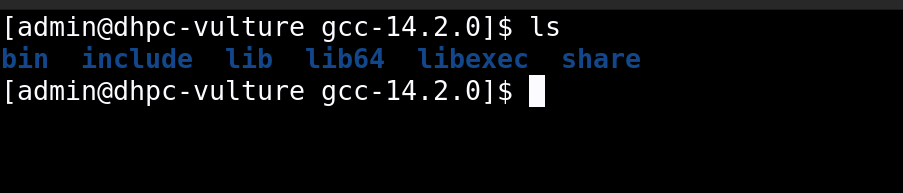
Screenshots
Here are the screenshots demonstrating the installation steps:
-
Directory Listing after Extraction
-
configure --help -
configurewith Flags -
Successful
configureExecution -
Running the
make -jCommand -
Completion of the
make -jProcess -
Running
make install -
Installation Complete
-
Final Installation Check