MPFR (Multiple Precision Floating-Point Reliable Library) Installation Guide
Note:
This installation guide is intended for self-learning and skill improvement only. The installation is performed on a personal computer and is not suitable for cluster-level installations. It is meant for reference purposes only and should not be used in production or large-scale environments.
What is MPFR?
The Multiple Precision Floating-Point Reliable Library (MPFR) is a free library that provides high-precision floating-point arithmetic. It is designed for scientific computations that require a high degree of numerical accuracy. MPFR is an essential dependency for GCC, which relies on MPFR to handle floating-point operations during the compilation process.
Why is MPFR Needed?
MPFR is required for:
- High-Precision Floating-Point Calculations: It provides reliable floating-point arithmetic needed by GCC.
- Scientific Computations: MPFR is widely used in scientific and engineering computations that require more precision than typical double-precision floating-point arithmetic.
- Core Dependency: MPFR provides core functionality for GCC and related tools, ensuring the accuracy of floating-point operations.
Installation Steps
Step 1: Download the Source Code
Download the MPFR source code manually from the official website, which can be found here: MPFR Official Website.
Make sure to download the .tar.gz file for the specific version you want (e.g., mpfr-4.1.0.tar.gz).
Step 2: Transfer the Source Code to the Offline Machine
Once the source code is downloaded, transfer the .tar.gz file to your offline machine. You can use any method of file transfer that works in your environment (e.g., USB drive, external hard drive).
Step 3: Extract the Source Code
On your offline machine, extract the MPFR source code using the following command:
tar -xvzf mpfr-<version>.tar.gz
After extracting the files, use the ls command to check if the extraction was successful and if the mpfr-<version> directory is created:
ls
You should see the extracted mpfr-<version> directory.
Step 4: Check for the configure Script
Navigate into the MPFR directory:
cd mpfr-<version>
List the files to check if the configure script is present:
ls
- If the
configurescript is found, proceed to the next step. - If the
configurescript is missing, check for theautogen.shscript. If present, run it to generate theconfigurescript:
./autogen.sh
This will create the configure script, which is necessary for the next steps.
Step 5: Link GMP as a Dependency
MPFR depends on GMP for precise floating-point operations. There are two methods to link GMP during the MPFR installation process:
Method 1: Export GMP Environment Variables
You can export the GMP installation directory before running the configure script. This method allows MPFR to detect GMP libraries and headers automatically.
export GMP_DIR=/path/to/gmp
export PATH=$GMP_DIR/bin:$PATH
export LD_LIBRARY_PATH=$GMP_DIR/lib:$LD_LIBRARY_PATH
export C_INCLUDE_PATH=$GMP_DIR/include:$C_INCLUDE_PATH
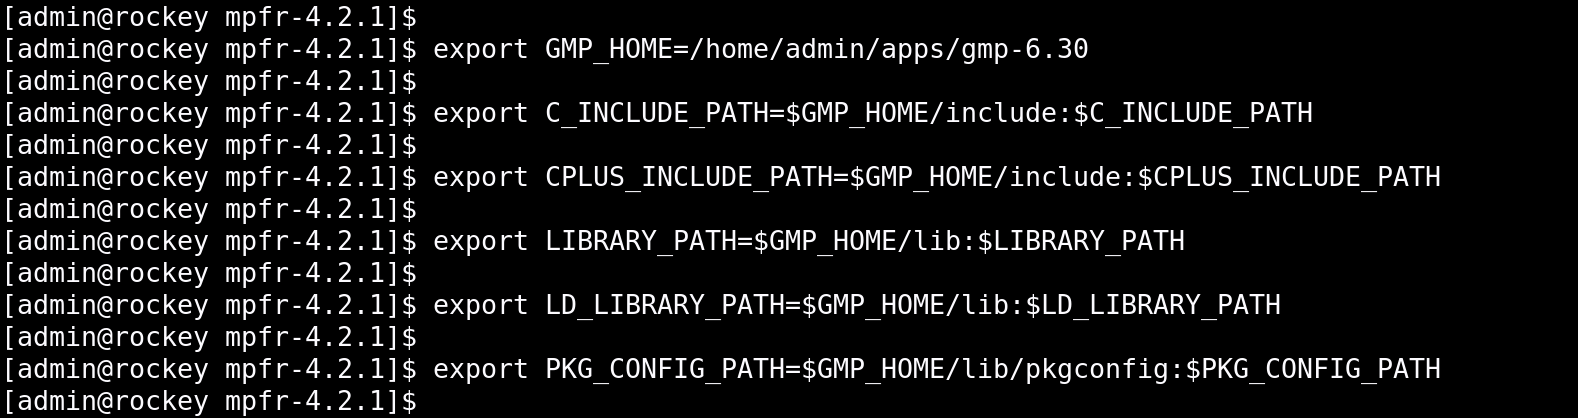
Replace /path/to/gmp with the path where GMP is installed on your system. Once these variables are set, MPFR will automatically use GMP during the configuration.
Method 2: Using the --with-gmp Flag
Alternatively, you can specify the GMP directory directly in the configure script using the --with-gmp option:
./configure --prefix=/path/to/install --with-gmp=/path/to/gmp
Replace /path/to/gmp with the actual path to your GMP installation directory, and /path/to/install with the desired installation directory for MPFR.
configurewith GMP Path Option: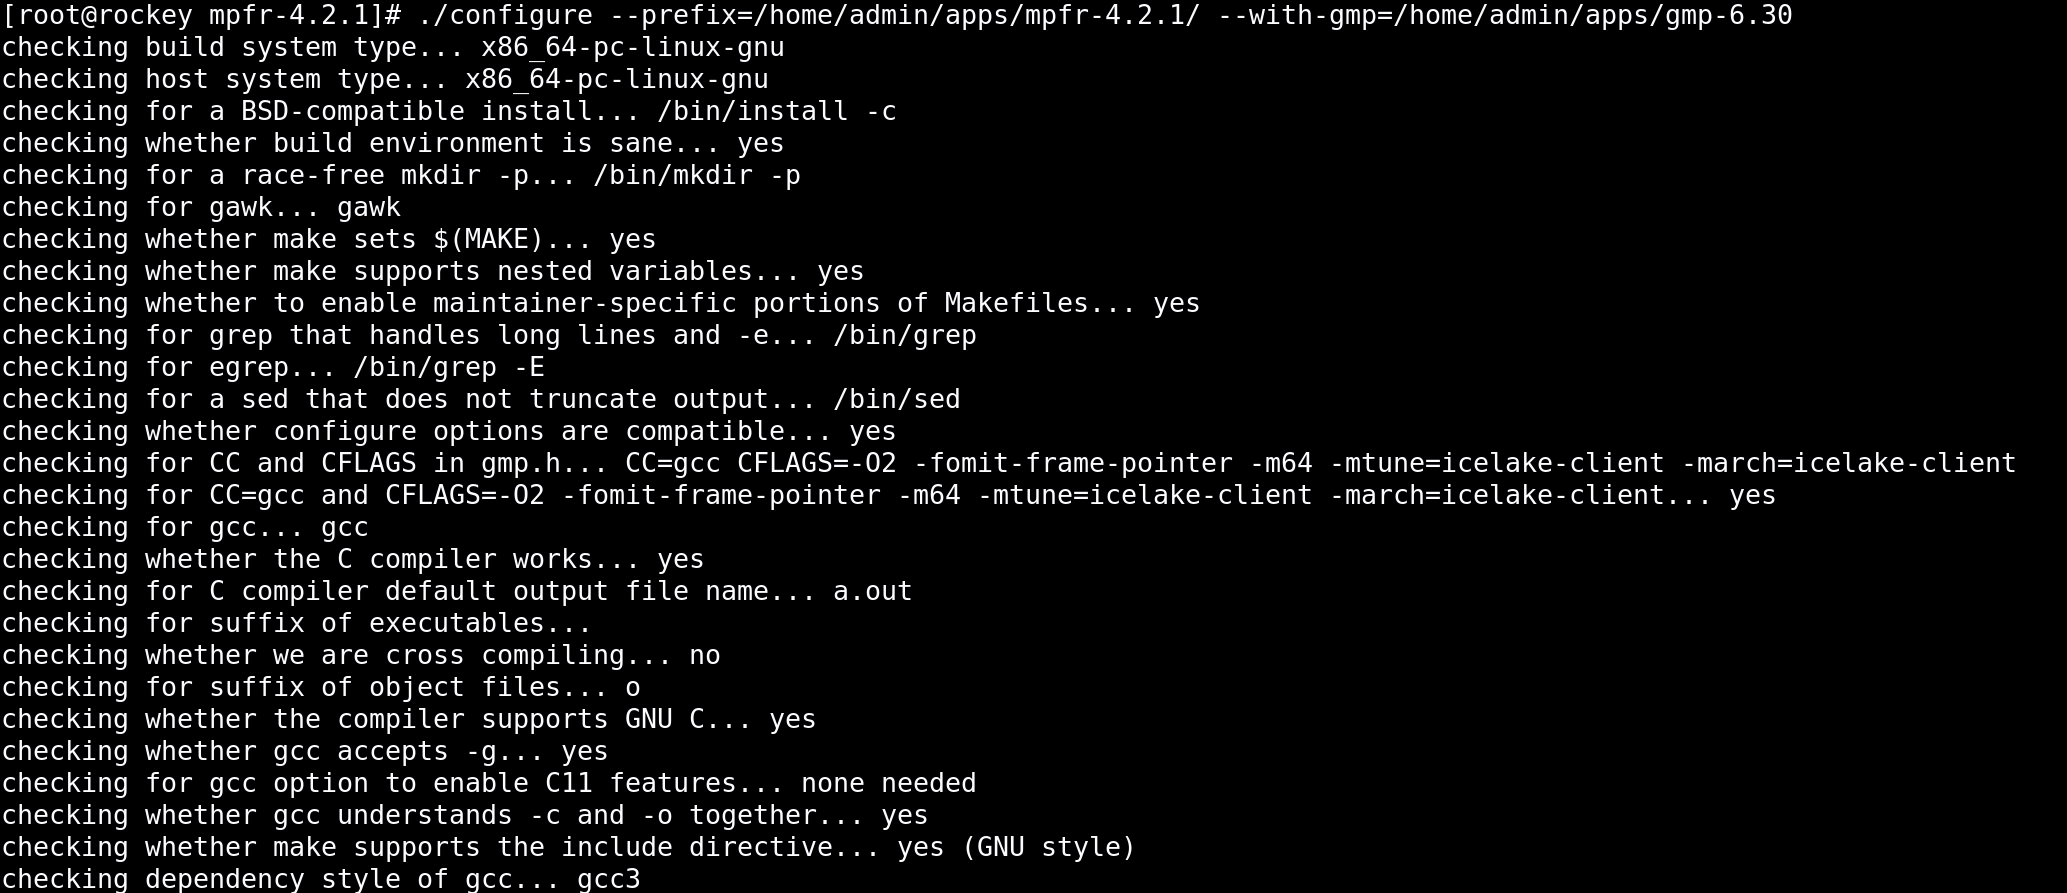
Step 6: Run the ./configure Script
Run the configure script to prepare the build environment. You can also check available configuration options by running:
./configure --help
This will display the configuration options. The key option here is the --with-gmp flag (or the environment variable method mentioned earlier) to ensure GMP is linked to MPFR.
Step 7: Compile the Code
After the configuration is complete, compile MPFR by running:
make -j
The -j flag utilizes multiple CPU cores to speed up the compilation process. Adjust the number of cores based on your system's capabilities (e.g., -j4 for four cores).
- Running the
make -jCommand: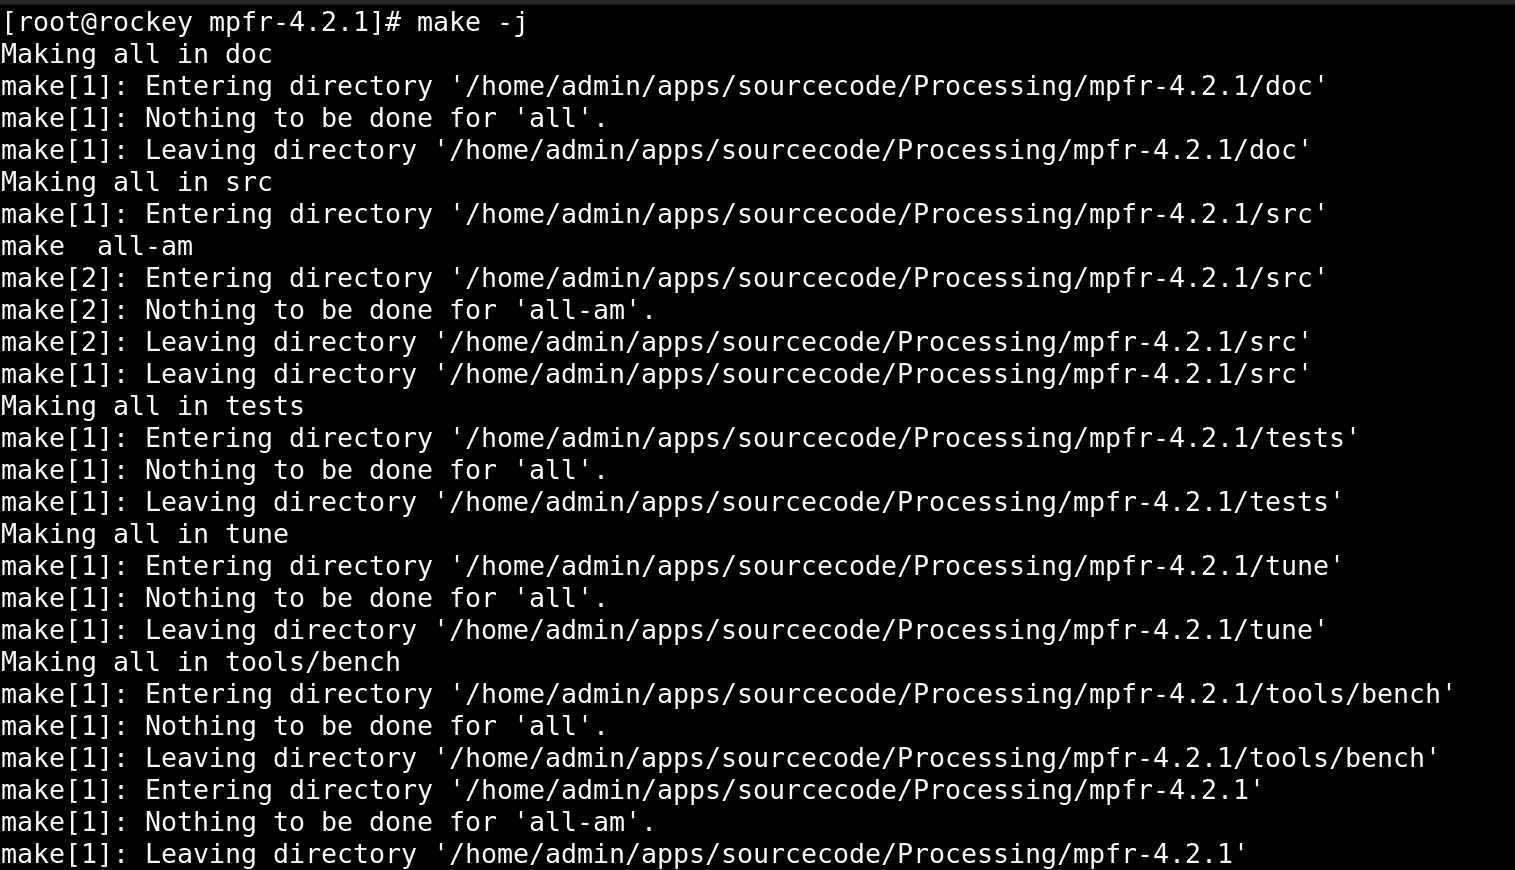
You can also verify that the compilation process ran smoothly by performing a check:
make check
Step 8: Install MPFR
Once the compilation is finished, install MPFR using:
sudo make install
This command installs MPFR into the directory specified by the --prefix option during the configuration process.
- Running
make install: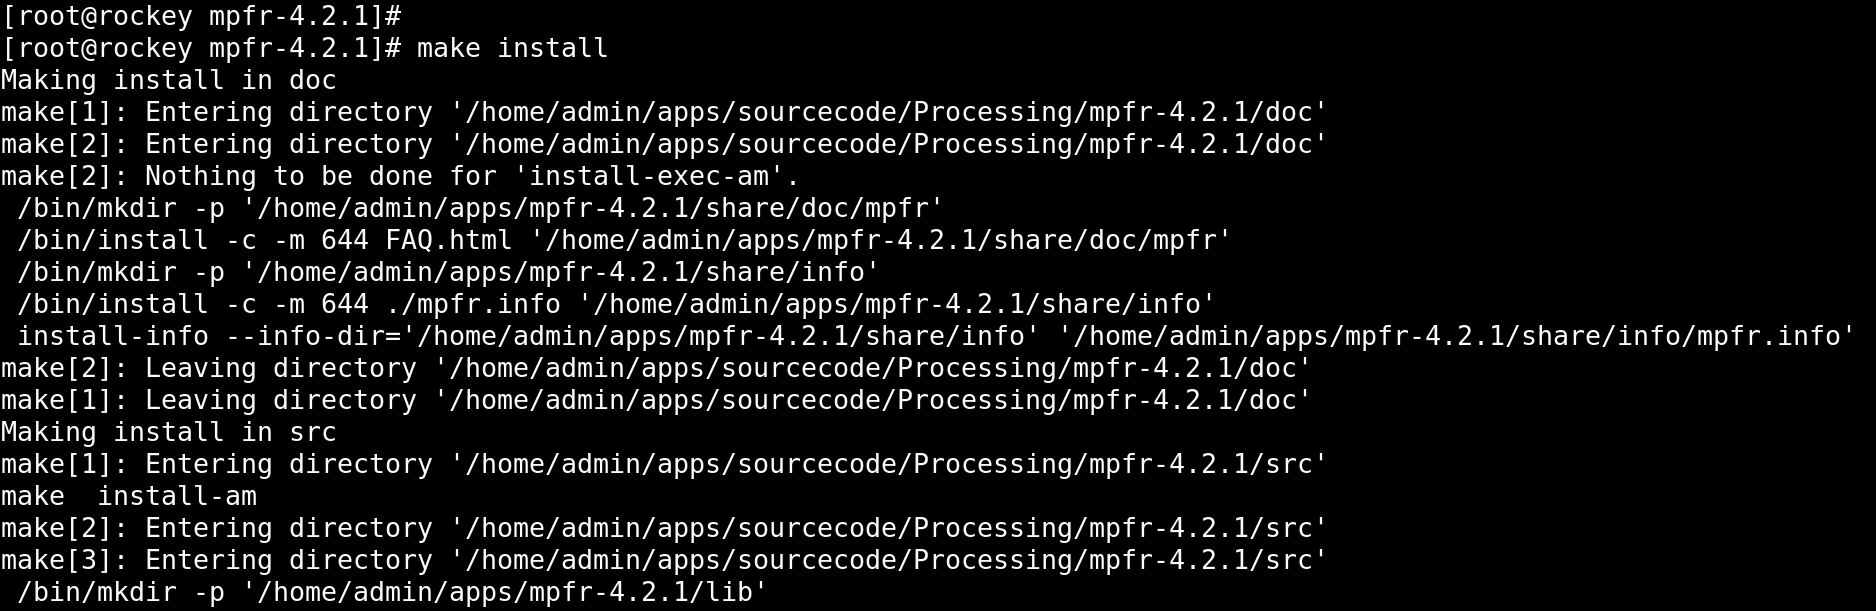
Step 9: Verify Installation
After the installation is complete, verify that MPFR has been installed correctly by checking the contents of the installation directory:
ls /path/to/install/bin
ls /path/to/install/lib
You should see the necessary MPFR files in the bin and lib directories.
- Final Installation Check:

Screenshots
Here are the screenshots demonstrating the installation steps:
-
configurewith GMP Path Option -
configureafter exporting Path Option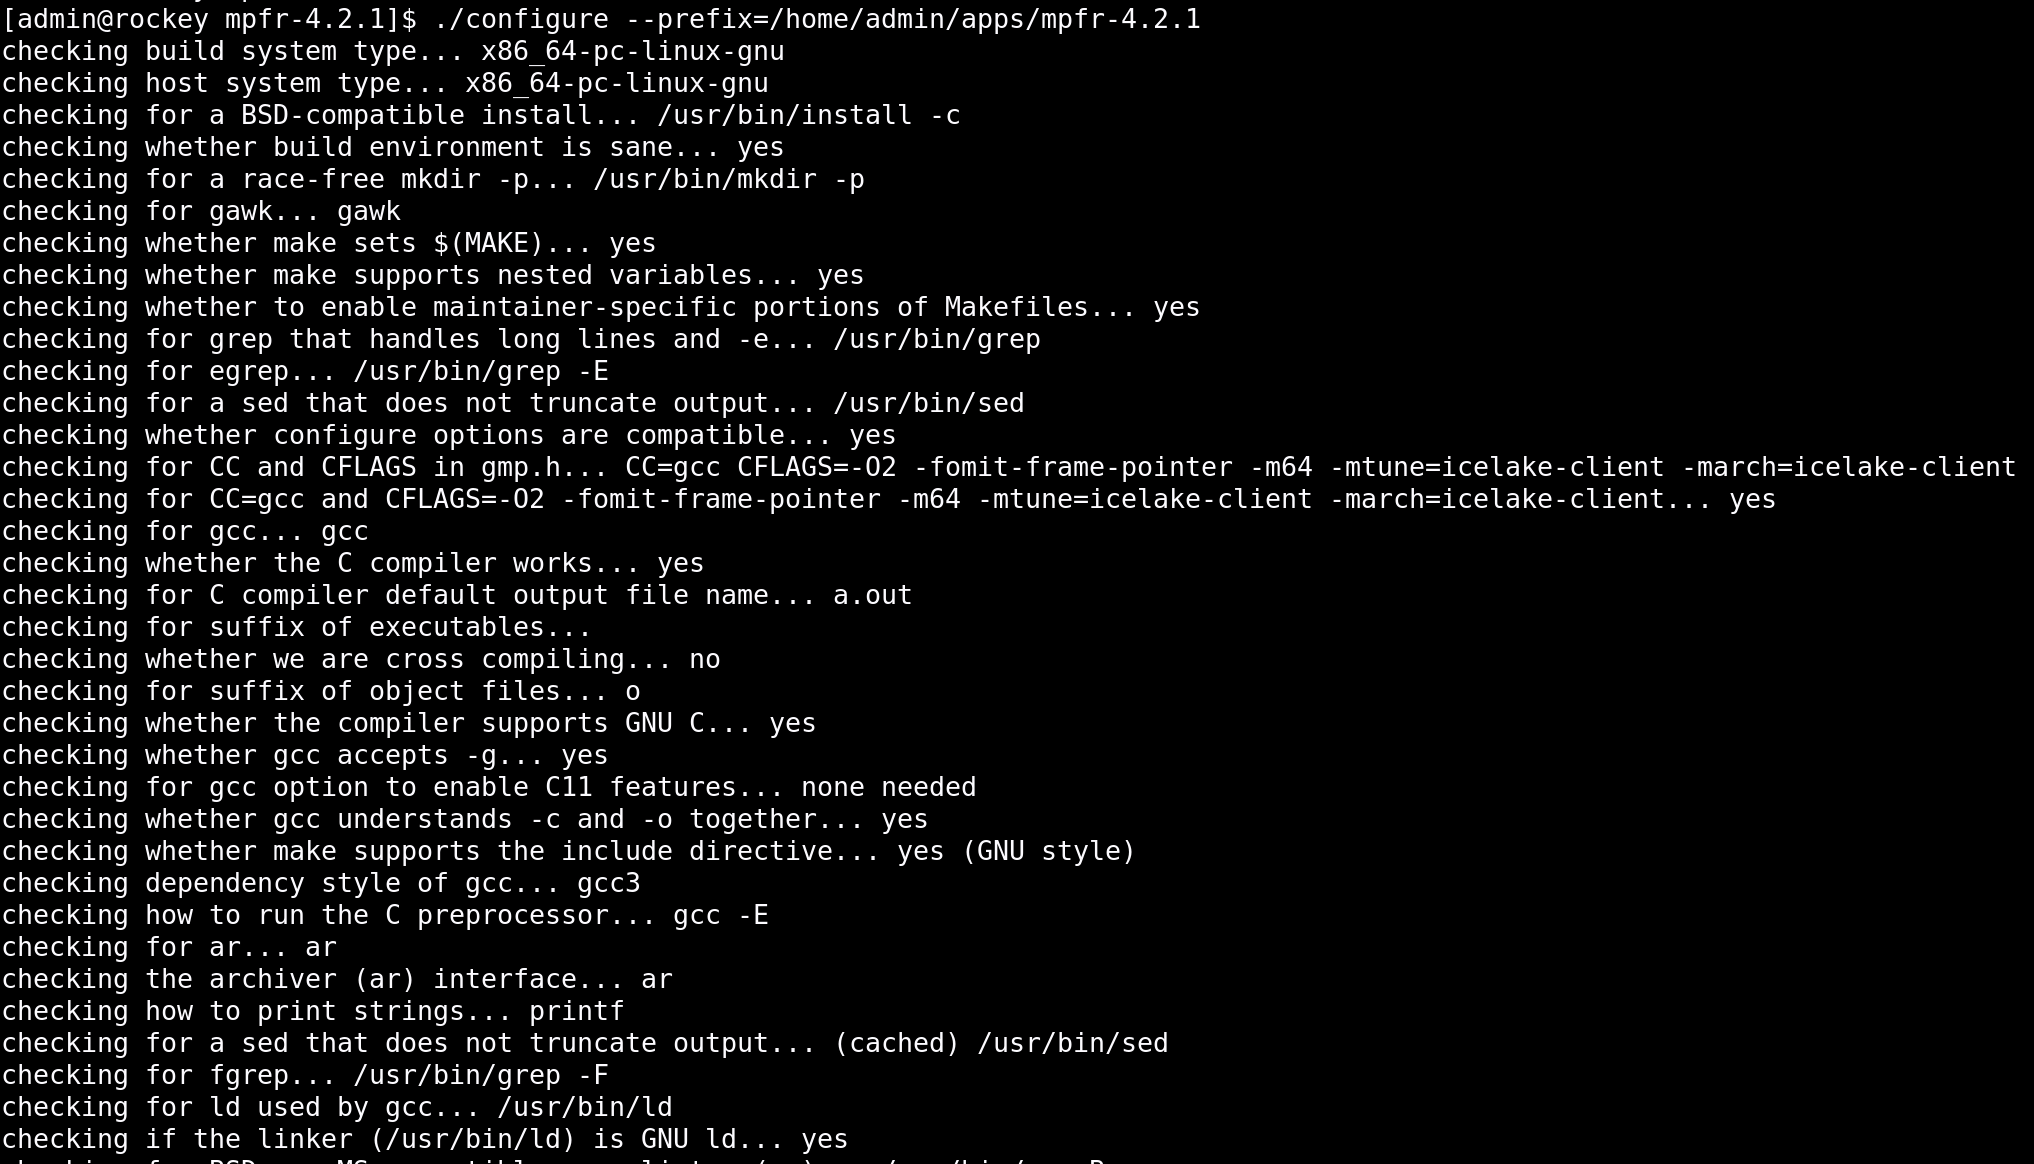
-
Running the
make -jCommand -
Running
make install -
Final Installation Check