What is OpenMPI?
OpenMPI is an open-source implementation of MPI (Message Passing Interface) — a standard used to develop parallel programs that can run across multiple computers or CPU cores in a cluster. It enables efficient communication between processes, regardless of whether they're running on different machines.
Key Uses of OpenMPI
- High-Performance Computing (HPC)
- Scientific Simulations (e.g., physics, chemistry, climate models)
- Machine Learning and Data Processing at scale
- Any application that requires faster computation by distributing work across processors.
How OpenMPI Works
Conceptually, OpenMPI operates by running multiple copies of the same program, where each copy is called a process. These processes communicate by sending and receiving messages. Here's how it works:
- You write one program.
- OpenMPI runs multiple instances of that program.
- Each process communicates with others using MPI messages.
Example: - Process 0 handles task A. - Process 1 handles task B. - They exchange results via MPI.
Key Features of OpenMPI
- Runs on laptops, servers, or large clusters.
- Supports languages such as C, C++, Fortran, and Python (via bindings like
mpi4py). - Very fast and scalable.
- Works over different networks: Ethernet, InfiniBand, shared memory, etc.
Installing OpenMPI from Source Code
Step 1: Download the Source Code
Download the source code from the official OpenMPI website.
Step 2: Extract the Source
After downloading the .tar.gz file, extract it using:
tar -xvf package.tar.gz
cd package
Step 3: Check Extracted Files
Ensure the following files are present:
configureconfigure.acautogen.sh
Step 4: Generate the Configure Script (if missing)
If the configure script is missing, run:
./autogen.sh
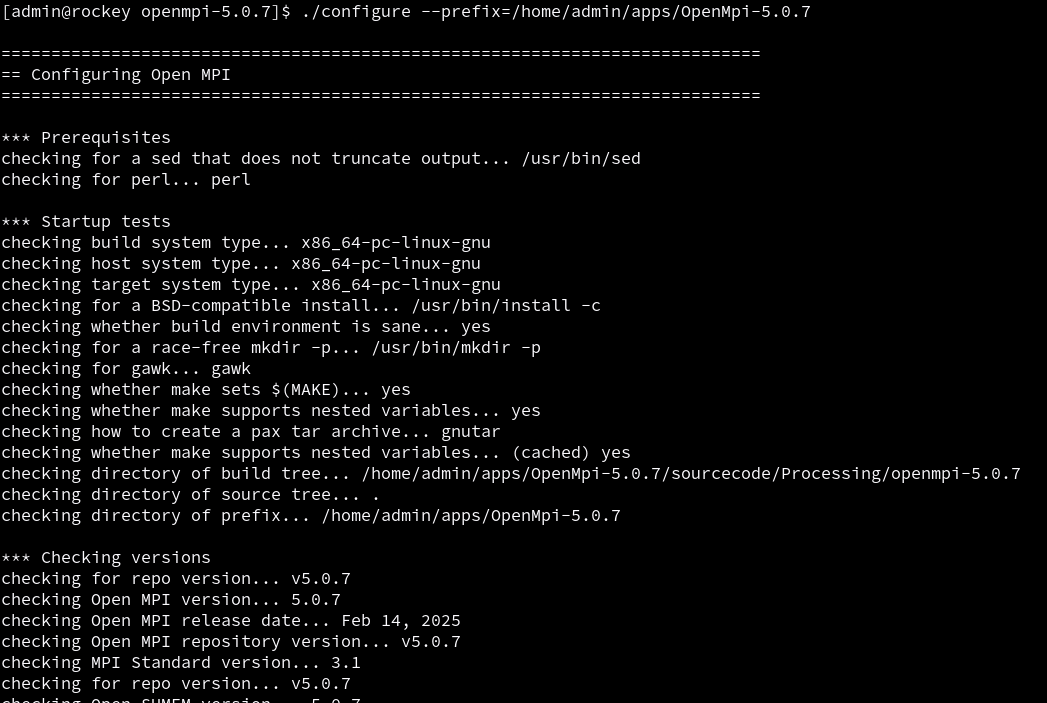
Step 5: Configure the Build
Run the following command to configure the build:
./configure --prefix=/opt/openmpi/5.0.1
Step 6: Build the Software
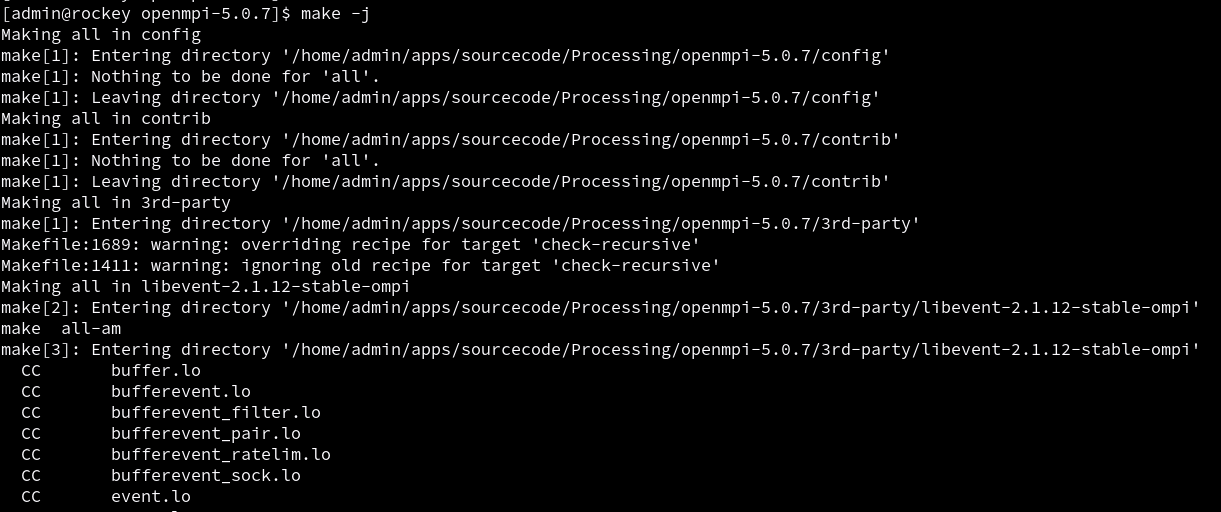
Use the make command to build OpenMPI. You can specify the number of cores for parallel compilation:
make -j <number_of_cores>
For example:
make -j 16  # Using 16 cores
make -j     # Use all available cores
Step 7: Run Optional Checks
You can run a test to check the build:
make check
Step 8: Install OpenMPI
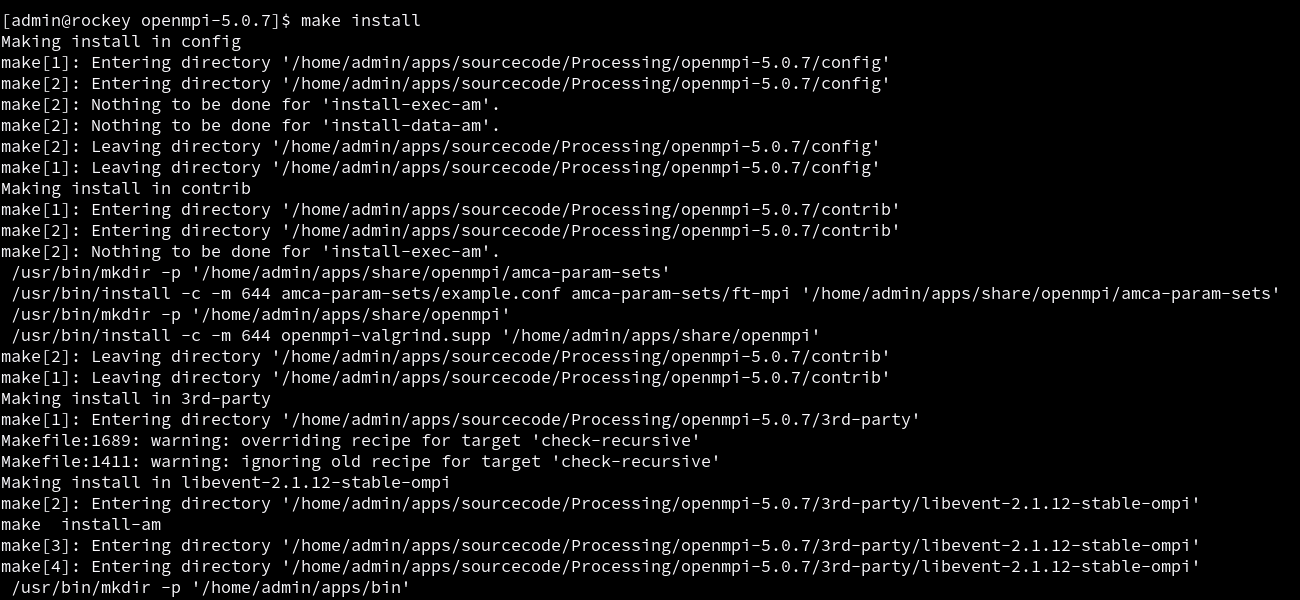
Once the build is successful, install OpenMPI with:
make install
Post-Installation Steps
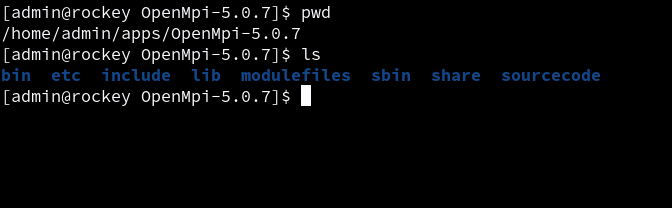
After installation, perform the following steps:
- Create a module file for OpenMPI and the compiler.
- Add correct
PATHandLD_LIBRARY_PATHto environment variables. - Test the compiler and MPI setup.
Final Verification
To verify the installation, run the following commands:
module load compiler/version
module load openmpi/5.0.1
mpicc --version  # Check if MPI compiler is working
mpirun -np 2 hostname  # Run a simple MPI job
Best Practices and Notes
- Use module files for HPC environments to manage versions.
- Keep only one version per directory.
- Document prefix paths for future reference.
- Test with small MPI jobs to verify setup.
Document prepared for reference purposes only.