Python Installation in Offline Environments
This method is particularly useful in offline environments or when you require a specific Python version that may not be available in your package manager. The process involves downloading the Python source code, configuring it for your system, building it, and installing it manually.
Step 1: Download the Tar File
- Visit the official Python website at Python Downloads.
- Navigate to the Downloads section and choose the version of Python you want to install.
- Select the corresponding Gzipped source tarball (e.g.,
Python-3.14.3.tar.xz) suitable for your system.
Step 2: Extract the Tar File
Once the .tar.xz file is downloaded, copy the machine which is need to install.
Follow these steps:
- Navigate to the directory where the file is copy using the
cdcommand.
cd /path/to/directory
- Use the
tarcommand to extract the contents of the.tar.xzfile:
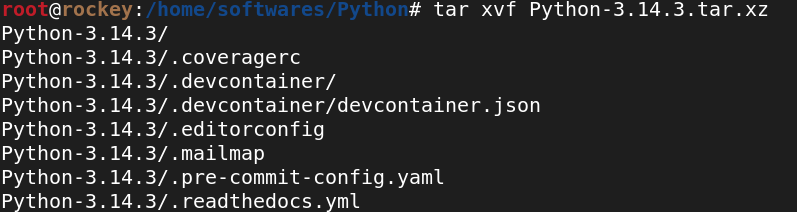
tar xf Python-3.14.3.tar.xz
-
Explanation:
x: Extract the contents of the archive.f: Specifies the file name (in this case,Python-3.14.3.tar.xz).
This will unpack the Python source code into a directory named Python-3.14.3.
Step 3: Configure the Installation
After extracting the source code, navigate into the Python directory and configure the build process:
- Navigate into the extracted directory:
cd Python-3.14.3
- Run the
configurescript to prepare the system for installation. This step checks for necessary system dependencies and sets up the environment for Python's build process. You can specify a custom installation directory using the--prefixargument:
./configure --prefix=/home/softwares/Python-3/3.14.3 --enable-shared --enable-optimizations
-
Explanation:
--prefix=/home/softwares/Python-3/3.14.3: Specifies the directory where Python will be installed. You can choose a custom directory other than the default system paths.--enable-shared: Builds shared libraries, useful for linking with other software.--enable-optimizations: Optimizes the build, leading to better performance at the cost of a longer build time.

Step 4: Build and Install Python
After configuring the installation, you can proceed with compiling and installing Python.
- Build Python: This command compiles the source code into executable binaries:
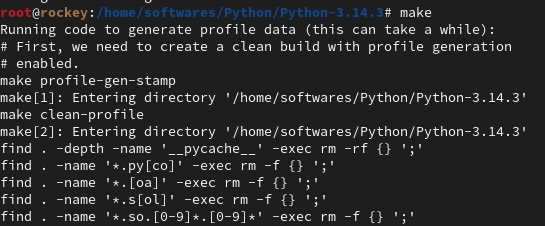
make
- Explanation: The
makecommand reads theMakefilegenerated by theconfigurescript and compiles the source code. If you have multiple cores available, you can speed up the build by using the-joption followed by the number of cores (e.g.,make -j 16for 16 cores).
make -j 16 # Adjust based on available CPU cores
-
Explanation:
-j 16tellsmaketo use 16 cores, speeding up the build process by parallelizing the compilation. -
Run Tests (Optional but Recommended): After building, it's a good idea to run the Python test suite to ensure everything is working correctly. You can skip this step, but running the tests helps identify issues in the build:
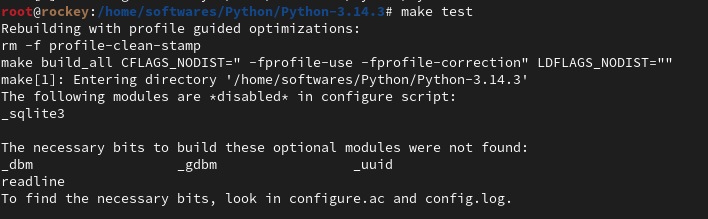
make test
- Explanation: The
make testcommand runs Python’s built-in test suite. If any tests fail, it might indicate issues with your build environment or missing dependencies.
- Install Python: After successfully building Python and running tests, install it on your system (sudo permissins is required if your running as a user) :
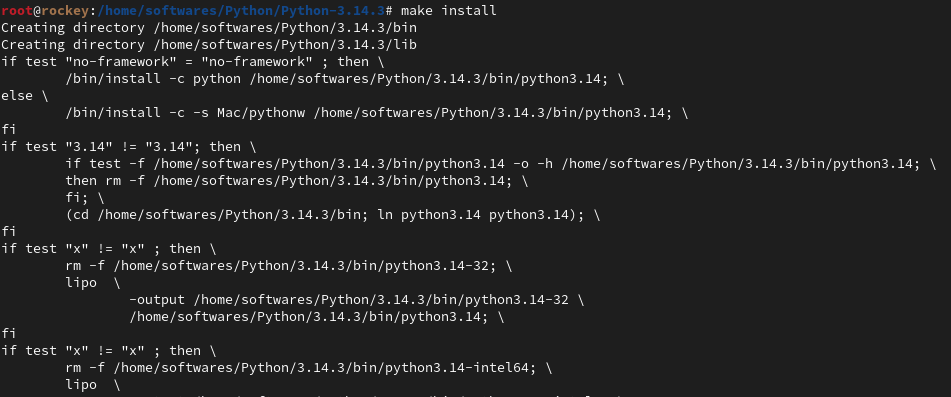
sudo make install
- Explanation: The
make installcommand copies the compiled files into the specified directories (e.g.,/home/softwares/Python-3/3.14.3/). Thesudocommand is used to install Python system-wide. This command might require administrative privileges.
Step 5: Verify the Installation
Once the installation is complete, you need to verify that Python is correctly installed and that your environment is properly configured.
- Set Up the Environment Variables: To use this version of Python, you need to set the environment variables to point to the correct installation paths:
   export PATH=/home/softwares/Python-3/3.14.3/bin:$PATH
   export LD_LIBRARY_PATH=/home/softwares/Python-3/3.14.3/lib:$LD_LIBRARY_PATH
   export CPATH=/home/softwares/Python-3/3.14.3/include:$CPATH
-
Explanation:
PATH: Adds the directory containing Python binaries to the system’sPATH, allowing you to callpython3from anywhere in the terminal.LD_LIBRARY_PATH: Specifies the path for shared libraries.CPATH: Specifies the path for include files (useful for building extensions).

- Check the Python Installation: Once the environment variables are set, confirm the installation:
   which python3
   python3 --version
-
Explanation:
which python3: Shows the path to the installed Python binary.python3 --version: Prints the installed Python version.
You should see the path where Python is installed and the version number:
   /home/softwares/Python-3/3.14.3/bin/python3
   Python 3.14.3

Step 6: Create a Module File
If you're managing multiple versions of Python on a shared system or cluster, it's useful to create a module file. This allows users to easily switch between different Python versions.
- Create a module file for your custom Python installation.users can load this environment with the following command:
module load python-3.14.3
Conclusion
By following this guide, you can install Python from source in an offline environment and manage custom Python installations with multiple versions. The steps include downloading the source code, extracting it, configuring it, building it, and setting up the environment for use.